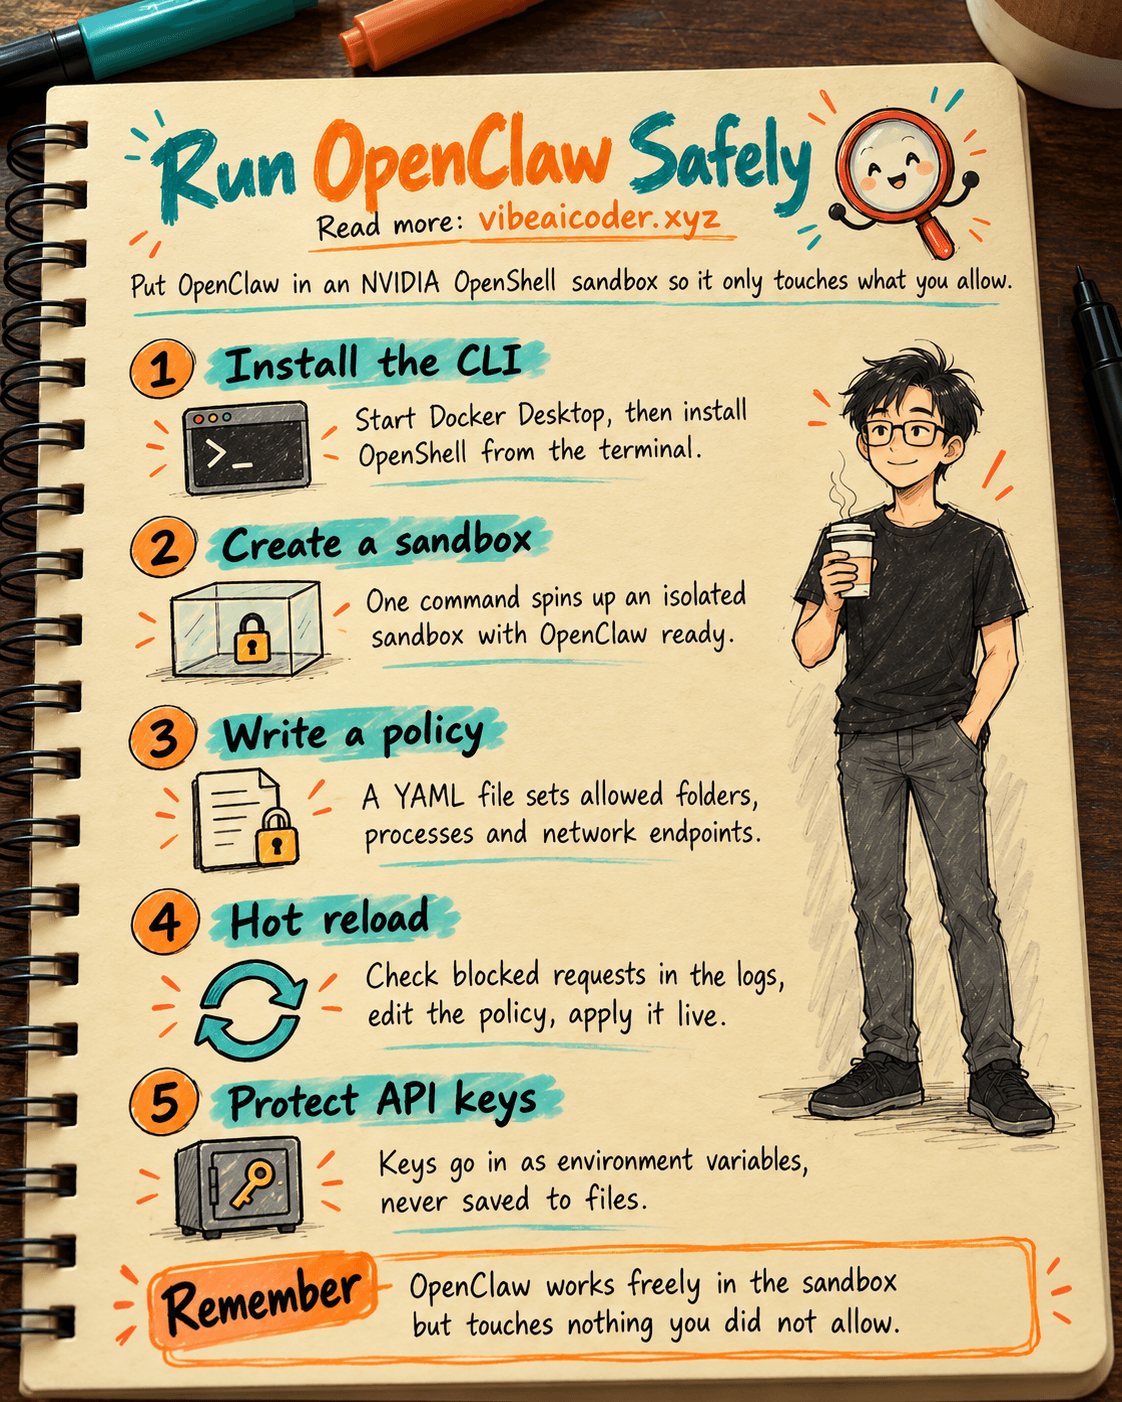
🐾 How to Run OpenClaw Safely With NVIDIA OpenShell Sandboxing
OpenClaw is seriously powerful. But are you sure it isn't reading sensitive files, calling random APIs, or using your credentials without you even knowing?
 The fix: NVIDIA OpenShell
OpenShell is an open source runtime NVIDIA announced at GTC 2026, on March 18, 2026, that creates a safe sandbox for autonomous AI agents. Think of it as a sealed room where OpenClaw can work freely, but it can't touch anything you haven't explicitly allowed. Every rule is declared in a simple, easy to edit YAML file.
 Step 1: Install the OpenShell CLI
All you need is Docker Desktop running. Open a terminal and run: curl -LsSf https://raw.githubusercontent.com/NVIDIA/OpenShell/main/install.sh | sh. If you use uv, you can install it from PyPI instead: uv tool install -U openshell. Type openshell --help to confirm the install worked.
 Step 2: Create a sandbox for OpenClaw
OpenClaw is already listed in OpenShell's Community catalog, meaning the sandbox definition ships with its own container image, default policy, and skills. You only need one command: openshell sandbox create --from openclaw. The --from flag pulls everything automatically and spins up an isolated sandbox. There's no need to install Kubernetes, since OpenShell runs a K3s cluster right inside a Docker container. The sandbox comes preloaded with Python 3.13, Node 22, git, vim, and the other developer tools you'd expect.
 Step 3: Write a policy YAML to control what OpenClaw can do
This is the most important part. Create a YAML file with four layers of protection stacked on top of each other. filesystem_policy declares which folders are read_only, such as /usr, /lib, and /etc, and which are read_write, such as /sandbox and /tmp. Any path not listed gets blocked at the kernel level using Landlock LSM. process blocks root access and dangerous syscalls with seccomp. network_policies controls every outbound connection individually. For example, if you want OpenClaw to call the GitHub API, you add the endpoint api.github.com on port 443, along with specific rules such as allowing GET requests on all repos but full write access only to the repo you name. Apply it with: openshell sandbox create --from openclaw --policy ./my-policy.yaml.
 Step 4: Hot reload when OpenClaw gets blocked
When OpenClaw needs to reach a new endpoint, you don't have to tear down the sandbox. Check the denied logs with openshell logs <name> --tail --source sandbox to see which request got blocked. Pull the current policy with openshell policy get <name> --full > policy.yaml, edit it to add the endpoint you need, then push it back with openshell policy set <name> --policy policy.yaml --wait. Everything applies immediately, and OpenClaw keeps running without any interruption.
 Step 5: Protect your API keys
OpenShell injects credentials into the sandbox as environment variables and never stores them on the filesystem. OpenClaw can use the keys but can't read or copy them out. You can create a provider manually with openshell provider create --type anthropic --from-existing, or let the CLI auto detect it from your environment when you create the sandbox.
 Tip: Debug fast with the terminal UI
Run openshell term to open a real time dashboard showing every request OpenClaw makes and whether it was allowed or denied. Use Tab to switch panels and j/k to move around. You can also clone the OpenShell repo and let OpenClaw read the skills under .agents/skills/ so it can diagnose its own errors, an agent debugging an agent.
Are you letting OpenClaw run "bare" right now, or do you already have a protection layer in place? Let us know.
More articles
Gemini 4 Argon Reads a 500-Page Chemistry Patent in One Afternoon
Claude Opus 5.5 Codes a Real Money Trading Game in One Day
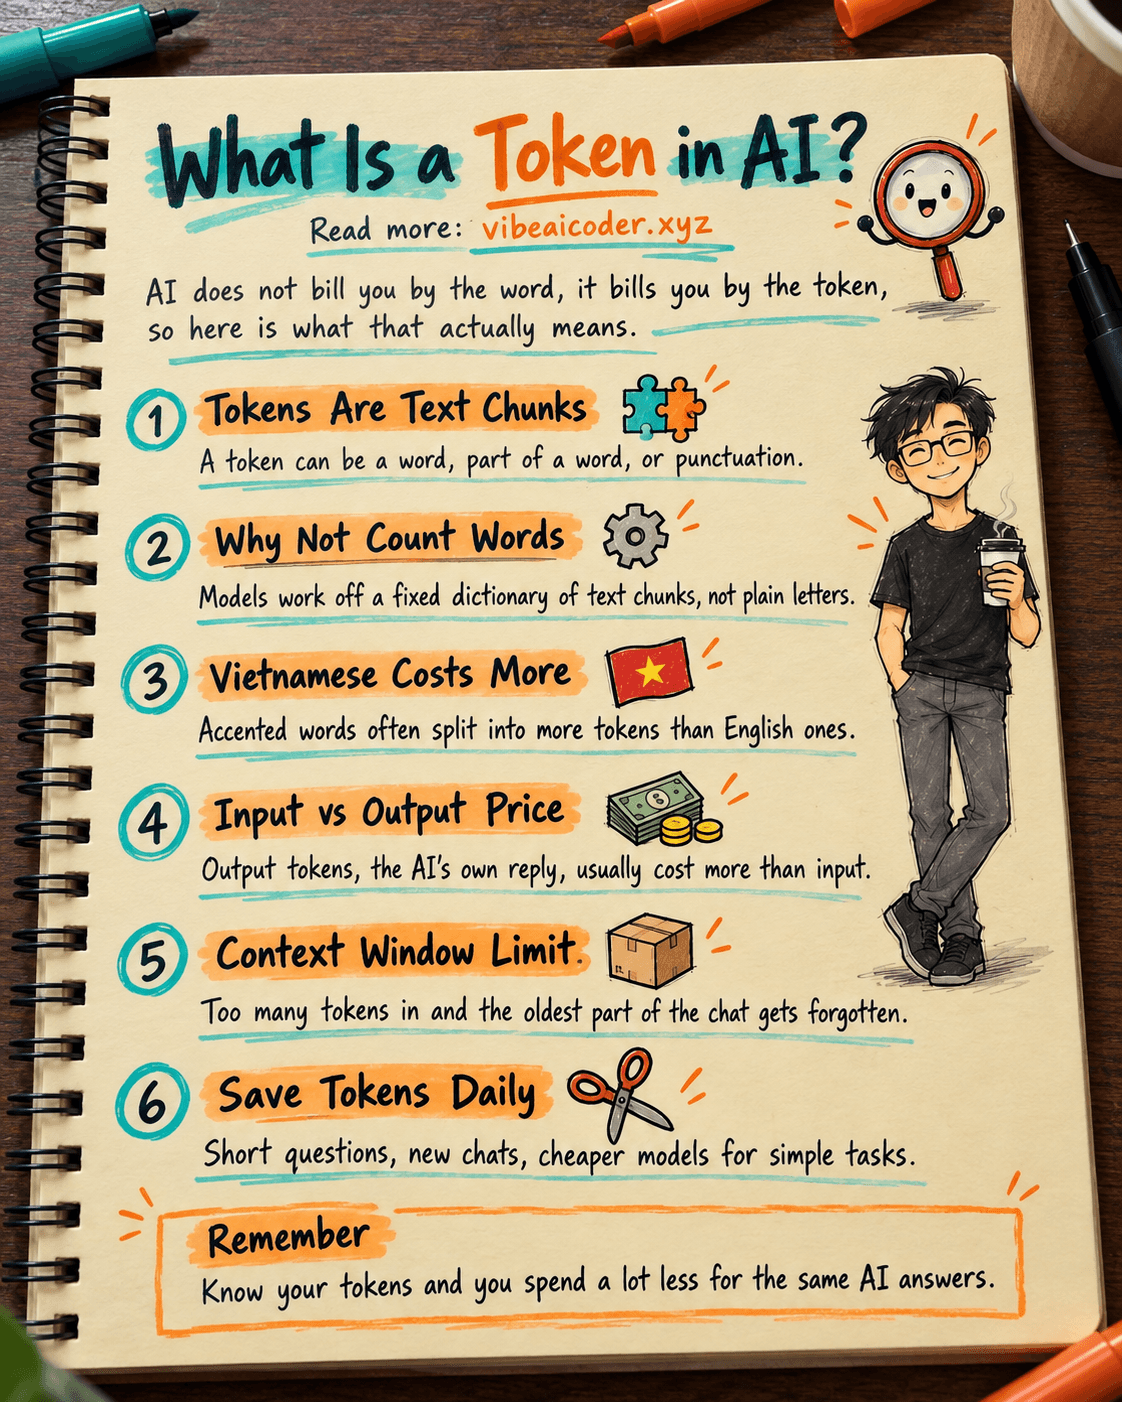
What Is a Token in AI? Why ChatGPT and Claude Charge by Tokens
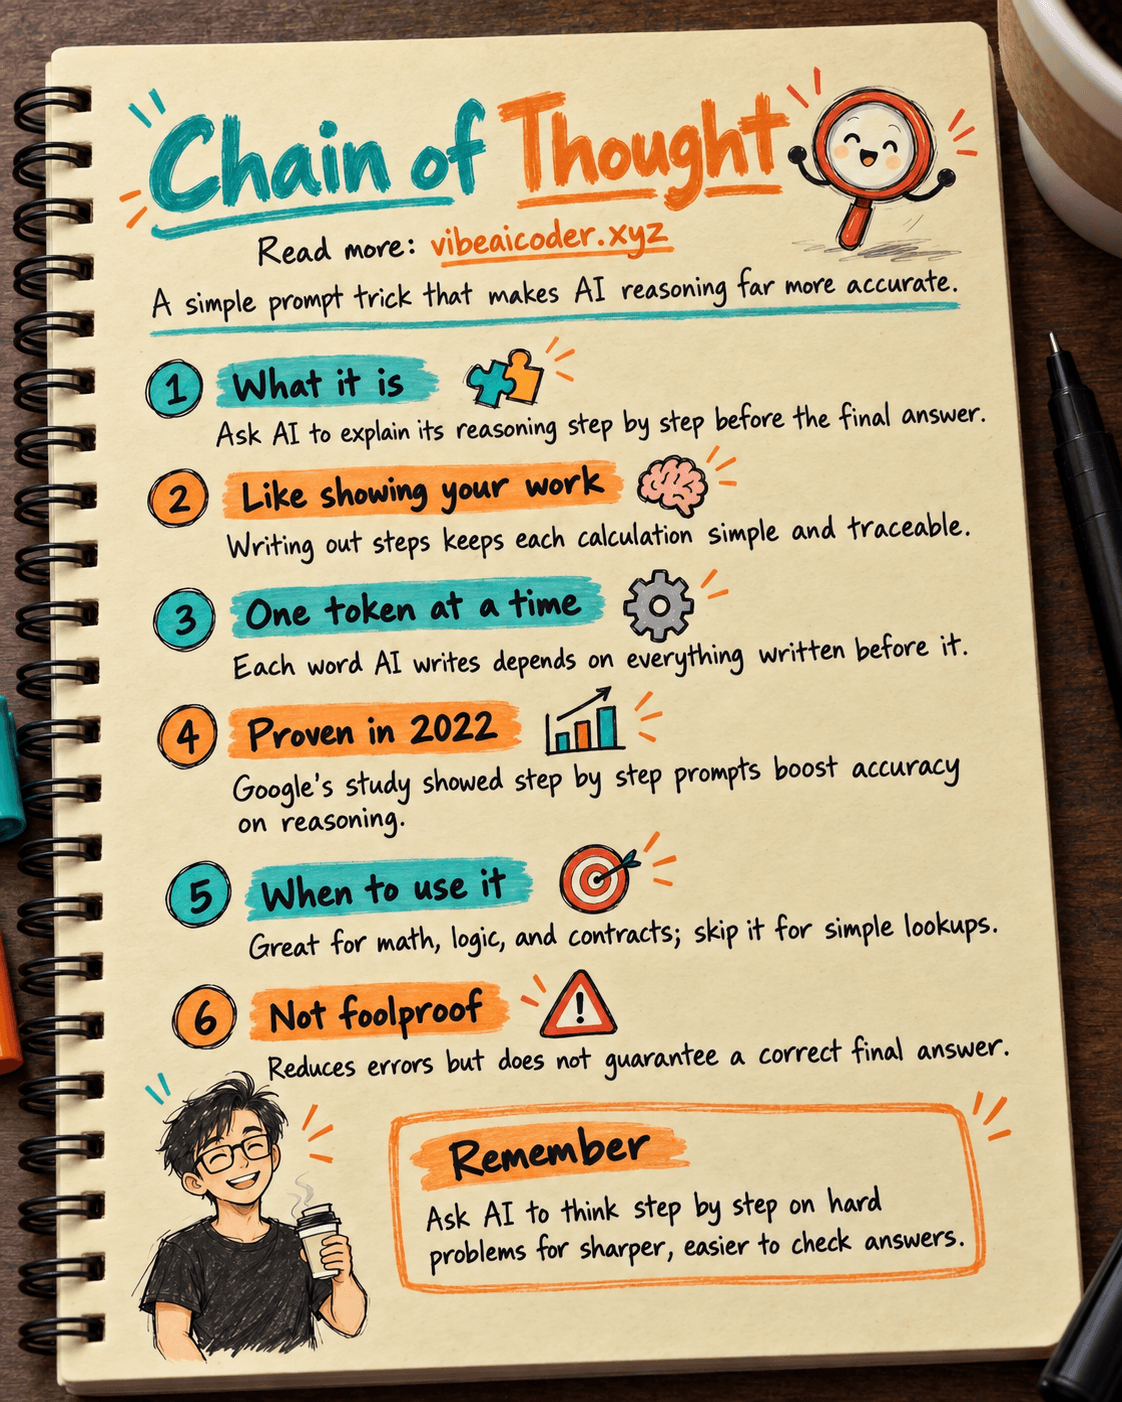
What Is Chain of Thought? Why Asking AI to Think Step by Step Works Better
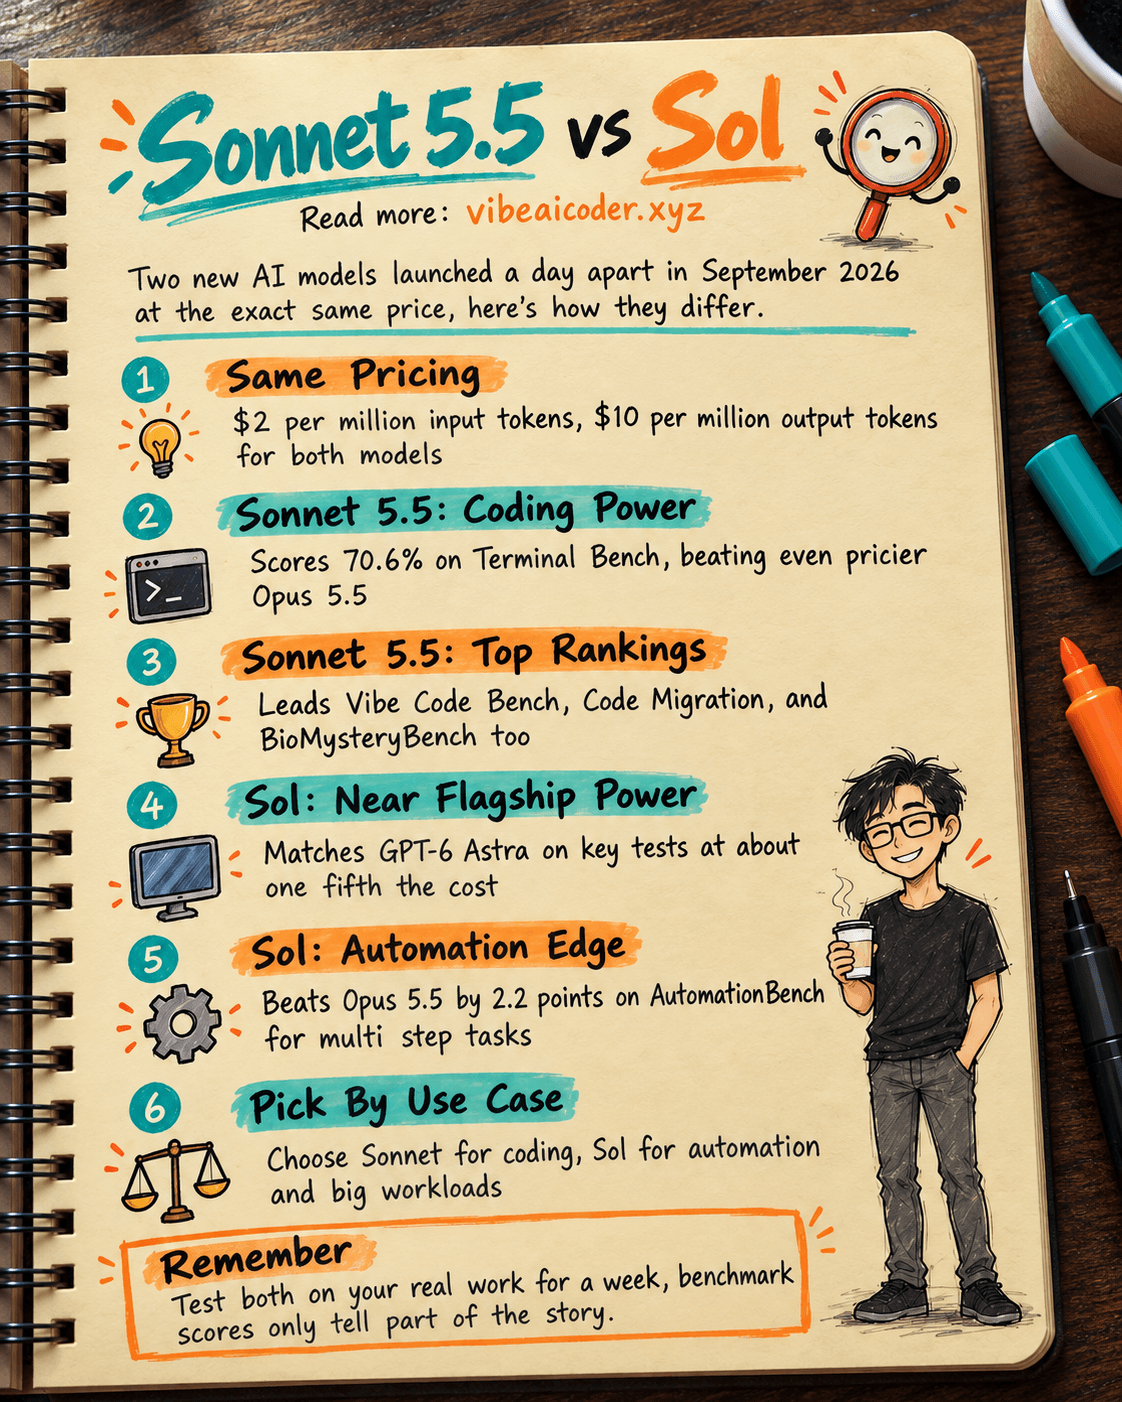
Claude Sonnet 5.5 vs GPT-6.1 Sol: Which AI Model Is Worth Using?
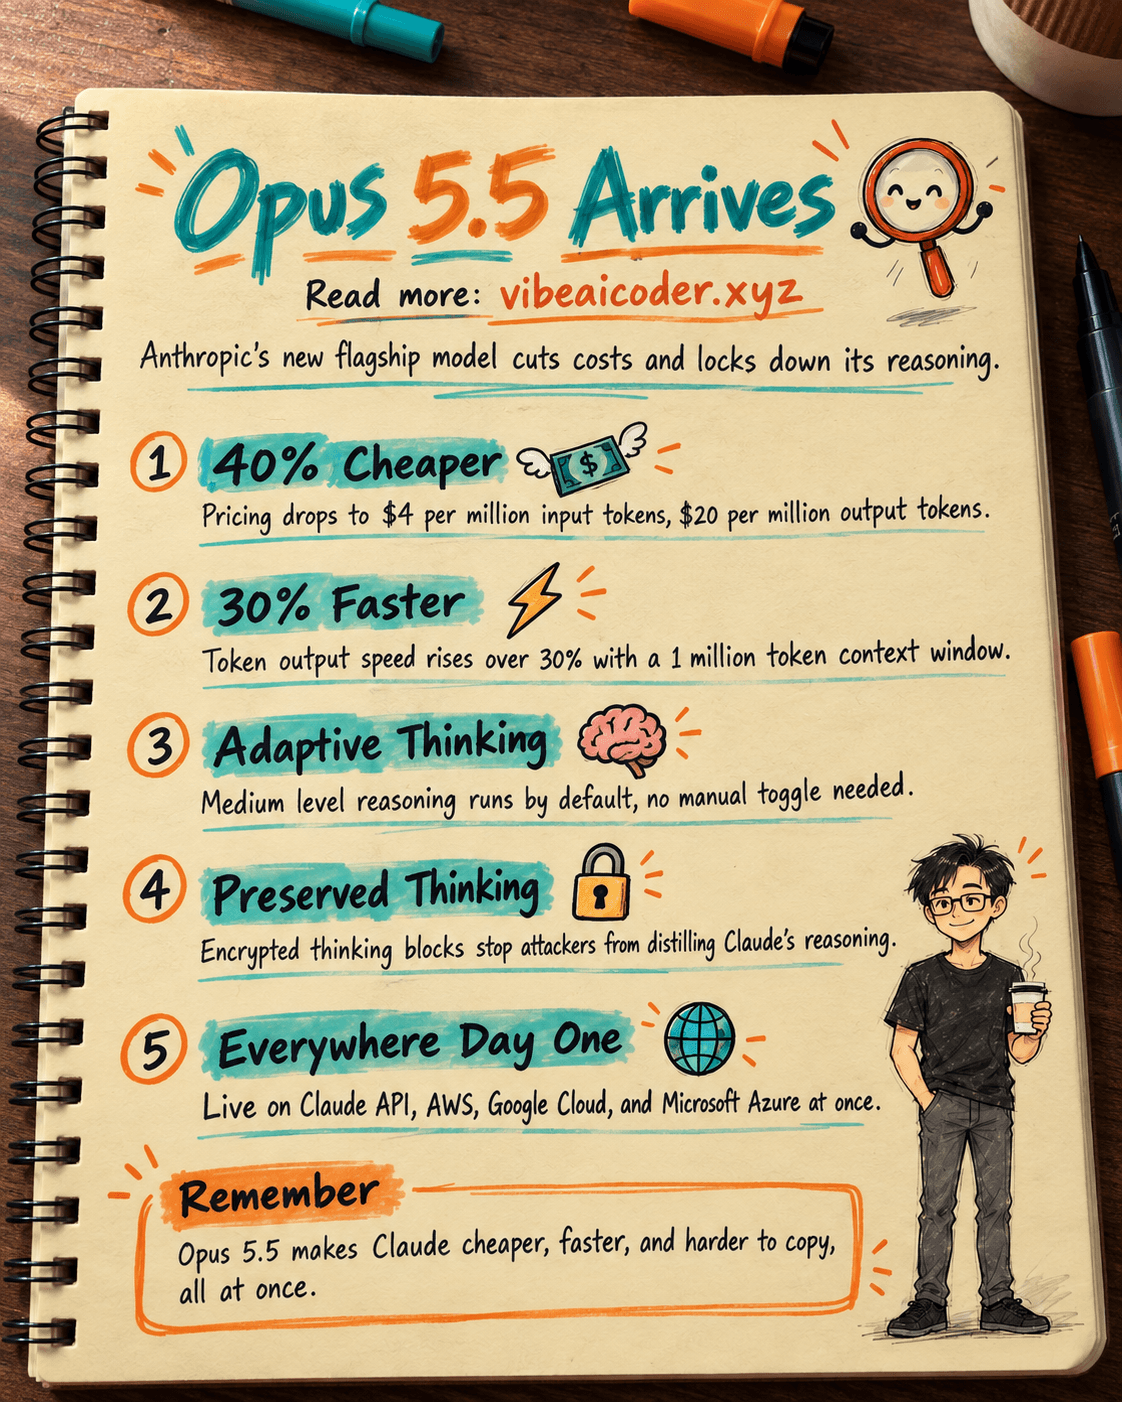
 Claude Opus 5.5 Launches: 30% Faster, 40% Cheaper, Blocks AI Brain Copying