Use Codex Security CLI to scan a repository and triage findings with your team
Use Codex Security CLI to scan a repository and triage findings with your team
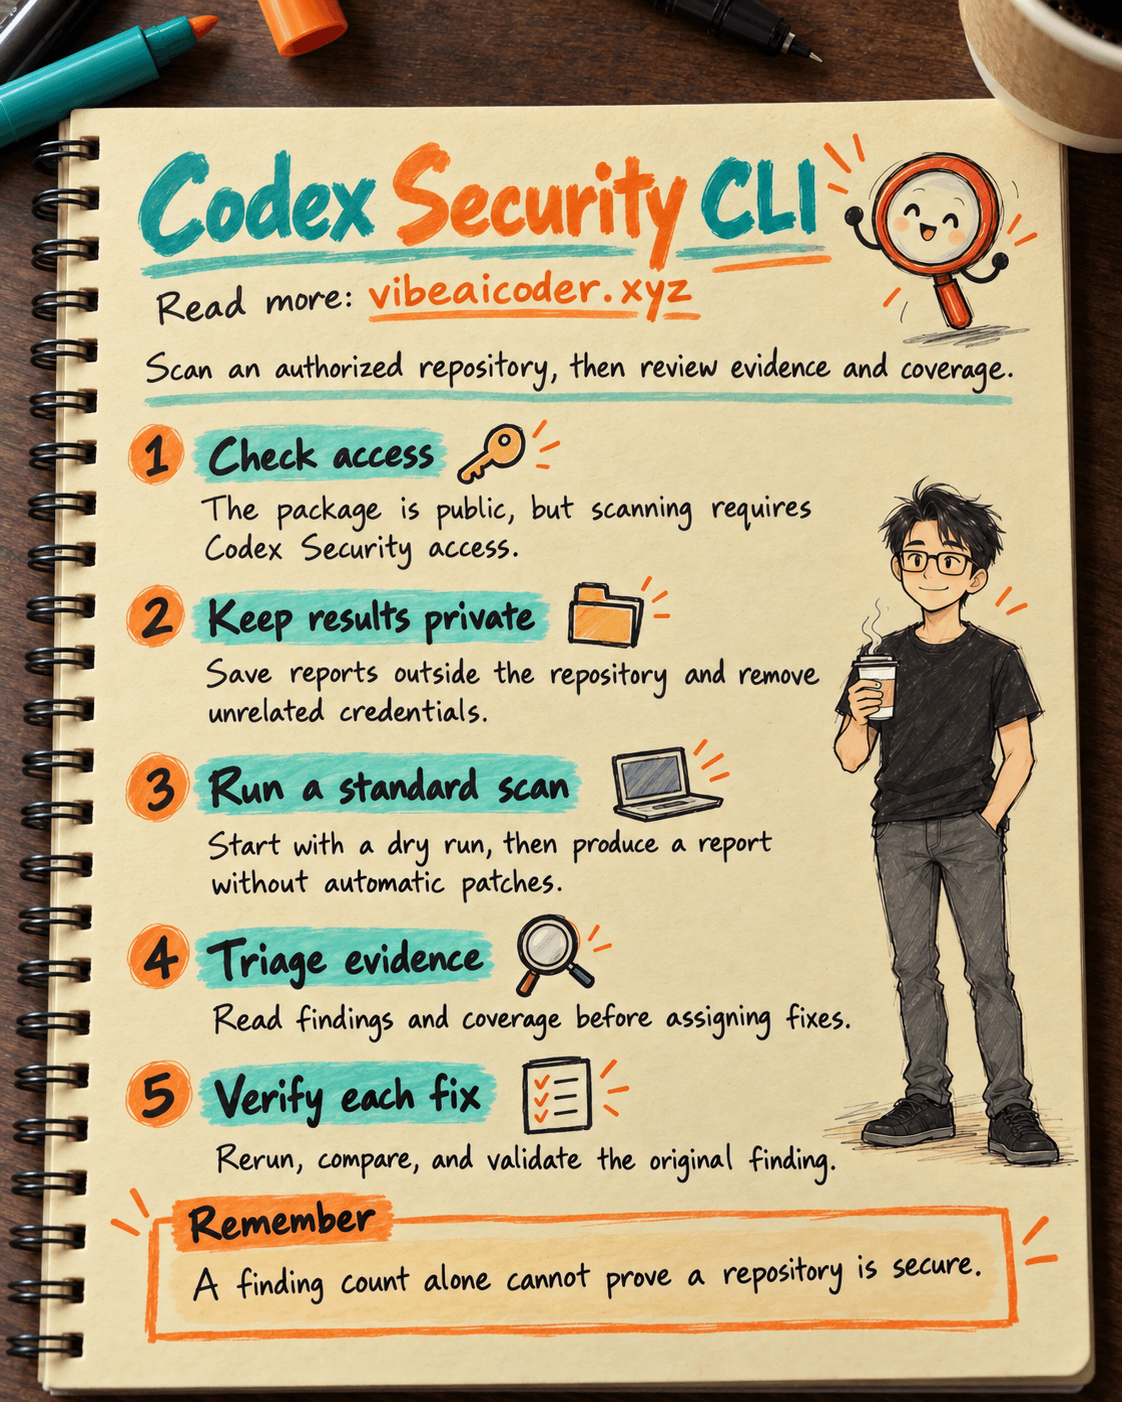
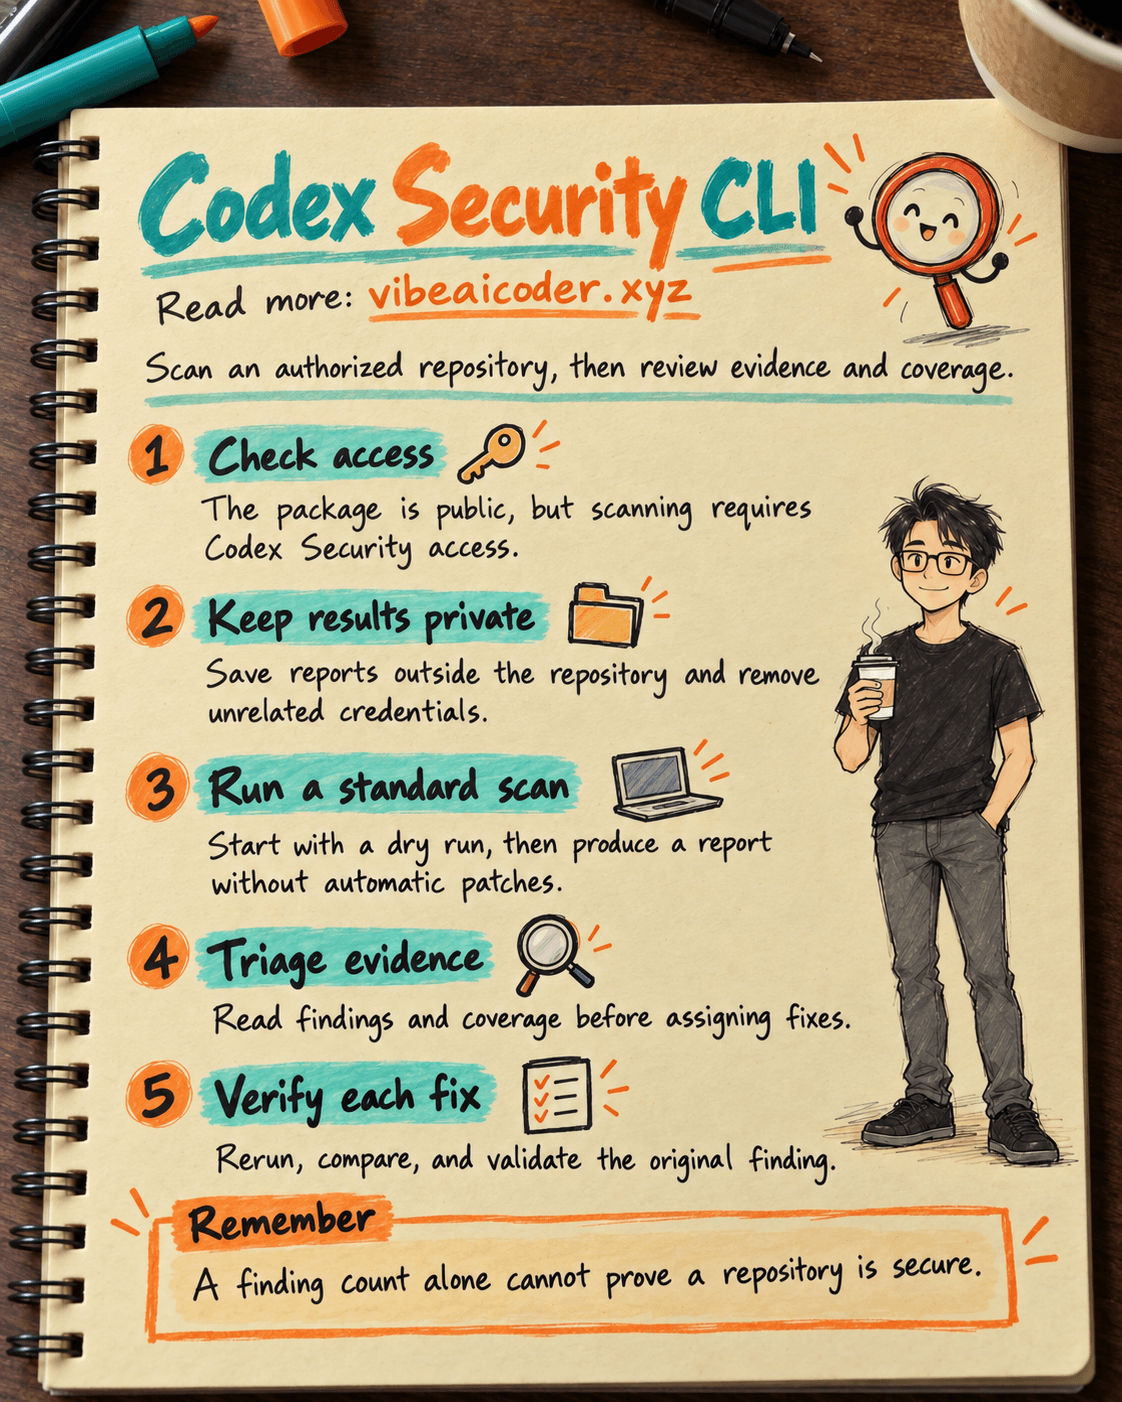
A report saying “two high severity issues” is not enough to decide what to fix first. You need to know what the scanner examined and what evidence supports each issue. This guide walks through one Codex Security CLI scan of a repository you are authorized to assess, then sorts the outcome into work to fix, findings to verify, and areas not fully reviewed. Allow about 30 minutes for setup and report review. Scan time depends on the repository and its configuration.
This is a workflow for finding vulnerabilities in product code. It complements the separate guide on Codex permissions and sandboxing when a team edits code. One evaluates the product; the other controls the tool's access while people work.
 What you need
According to OpenAI's Codex Security CLI quickstart, @openai/codex-security is a public package, but running scans requires Codex Security access. Depending on your account and repository, a full repository scan may also require Trusted Access for Cyber. Installing the package does not establish that your account can run a scan. Check the entitlement before planning a team rollout.
The CLI requires Node.js 22 from version 22.13.0 onward, or Node.js 24 or 26. Scans and saved scan results also require Python 3.10 or later. Use a repository you own or have permission to assess. Know the current branch and who will review the results. If the terminal is new to you, start with a small, verified Codex CLI task.
Results can contain source excerpts and vulnerability details. Choose a private directory outside the repository and decide who may access it and when it will be removed. OpenAI says local scans use your operating system permissions and do not pause for approval. Scan processes can also inherit environment variables, so remove unrelated credentials before starting. Do not give the process broader access just to bypass a setup error.
 Step by step
1. Check versions and sign in
Check Node.js, Python, and the CLI. These commands inspect your environment; they do not scan the repository:
node --version
python3 --version
npx @openai/codex-security --version
npx @openai/codex-security info --json
npx @openai/codex-security --help
info --json reports the package and bundled plugin versions. Fix an unsupported Node.js version before continuing. On an interactive machine, sign in with a ChatGPT account that has the required access:
npx @openai/codex-security login
npx @openai/codex-security login status
A remote machine without a browser can use login --device-auth. CI commonly uses an API key in an environment variable, but the scan entitlement still matters. If both ChatGPT sign-in and OPENAI_API_KEY or CODEX_API_KEY are present, choose --auth chatgpt or --auth api-key explicitly. The default auto mode may choose differently in an interactive terminal and CI. Do not print the key or paste it into team documentation.
2. Set the repository and output location, then check the inputs
Replace these sample paths with appropriate absolute paths on your computer. Keep SCAN_DIR outside REPOSITORY and limit access to the results:
REPOSITORY=/path/to/authorized-repository
SCAN_DIR=/path/outside-repository/security-results
npx @openai/codex-security scan "$REPOSITORY" --output-dir "$SCAN_DIR" --dry-run
The OpenAI CLI reference says --dry-run checks local inputs, including knowledge base paths if supplied. It does not load credentials, start Codex, or probe the plugin's Python interpreter. A successful dry run does not prove that your account can scan or that a real scan will finish. It catches path and configuration errors early.
For a repository with several services, you can add --path services/billing to limit a scan to a clear ownership boundary. Use --knowledge-base to supply an architecture diagram or security policy, after checking that it contains no material you are not allowed to share. AGENTS.md guidance for a Codex team governs routine work; its presence alone does not prove that the scanner understands your product's trust boundaries.
3. Run a standard scan and keep its artifacts
Once the dry run points to the right repository and output directory, run the standard scan. This example explicitly selects ChatGPT sign-in. Use --auth api-key instead if your approved setup relies on an API key:
npx @openai/codex-security scan "$REPOSITORY" \
  --output-dir "$SCAN_DIR" \
  --auth chatgpt
By default, a scan is report only and does not patch code. An interactive terminal shows a progress dashboard; ordinary output puts the summary and report path on stderr, rather than printing the complete result to stdout. Review dashboard screenshots before sharing them because session details may expose source or credentials. Add --json if automation genuinely needs a complete JSON document.
After a completed scan, examine report.md, findings.json, coverage.json, and scan-manifest.json. report.md is readable by reviewers. findings.json contains severity, locations, evidence, and remediation. coverage.json records examined and excluded areas as well as open questions. scan-manifest.json identifies the target, scope, and status. Preserve the original artifacts before writing a team summary.
4. Triage by evidence and coverage
Read coverage first. OpenAI describes complete, partial, and unknown values. If coverage is partial or unknown, record what path or surface was not reviewed. A short findings list cannot establish the safety of a payment component the scan missed. Even with complete coverage, check the selected target, exclusions, and open questions before interpreting the result.
Treat each finding as a hypothesis that needs confirmation. A practical team record has three columns: finding and evidence, provisional decision, and owner plus verification step. Useful decisions are “fix and recheck”, “investigate”, and “not applicable, with a specific reason”. Severity helps order the work, but someone still needs to assess the data flow, reachability, deployed configuration, and user impact.
If a result appears to be a false positive, find its occurrence ID in the saved report and record a specific reason with findings false-positive. Do not dismiss an entire vulnerability class because one case does not apply. According to the CLI FAQ, this decision becomes repository context for later scans, but the scanner still checks the current code and reachability again. Keep the status as “investigate” when the evidence is incomplete.
5. Recheck a fix with another scan
A finding missing from a later report does not, by itself, prove a fix. Earlier findings can remain open until resolved or dismissed. After the responsible developer changes the code, rerun the original configuration and compare the scans:
npx @openai/codex-security scans list "$REPOSITORY"
npx @openai/codex-security scans rerun BEFORE_SCAN_ID
npx @openai/codex-security scans compare BEFORE_SCAN_ID AFTER_SCAN_ID
Replace BEFORE_SCAN_ID and AFTER_SCAN_ID with actual IDs. Check that the new scan covered the path of the original finding without partial or unknown coverage there. Then use validate to recheck the finding against the current checkout. If Codex generates a patch, review the diff and run tests. --patch is an explicit option, not part of the standard report-only scan.
 Example result
Imagine one finding about a file download missing an authorization check, another database warning that might be a false positive, and incomplete webhook coverage. The team assigns the download issue, keeps the database warning under investigation, and schedules another review of the webhook path. It closes the first issue only after a repeat scan and validate confirm the fix. This is an illustrative scenario, not output from an actual repository scan.
 Tips for better results
Begin with a standard scan of one repository or one owned service. Expand to deep scans, diff scans, or pre-commit checks only after the first report is understood. In a monorepo, --path aligns a scan with a service boundary. For a pull request, --diff origin/main --head HEAD scans committed changes, while --working-tree --base HEAD covers uncommitted changes. Those change scans require the repository argument to be the Git worktree root. --path, --diff, and --working-tree are mutually exclusive.
Use --max-cost if the team has a scan budget. It stops a scan when estimated model cost exceeds the limit, although requests already in flight may finish slightly above it. A deep scan stopped early can have partial coverage. Record each scan's ID, date, branch, commit, scope, and reviewer so later comparisons refer to the same target. The report informs engineering decisions; it does not replace code review or suitable security testing.
 Limits to understand
Scans require Codex Security access and, in some circumstances, Trusted Access for Cyber. The CLI can read what your operating system account can read, and scans do not pause for approval. Use an authorized repository, remove unrelated credentials, and keep results private. Do not post source excerpts or vulnerability reports publicly. Check your organization's data rules before changing the inference provider or storage location.
AI-assisted scans may miss or misclassify issues, and repeated scans may differ. complete coverage describes what this scan reviewed; it does not certify that a repository has no vulnerabilities. A person who understands the system must validate important findings and their real impact. The commands here were checked against current official OpenAI documentation. No live scan was run, because this example has no designated repository or scan entitlement.
 FAQ
FAQ
Does installing the public CLI package mean I can scan immediately? No. Scanning requires Codex Security access, and some full repository scans may require Trusted Access for Cyber.
Does a dry run use model tokens or verify sign-in? OpenAI says --dry-run checks local inputs without loading credentials, starting Codex, or probing the plugin's Python interpreter.
Does an empty findings list mean my repository is secure? No. Read coverage.json, the selected scope, exclusions, and open questions. Even complete coverage is not a guarantee that every vulnerability was found.
Can the scan fix issues automatically? --patch is available, but the default scan only reports. Review evidence, approve the scope, inspect the diff, and run tests before accepting a change.
Is a finding fixed if it disappears from the next scan? Not necessarily. Compare the scans, check coverage of the affected code, and use validate on the original finding against the current checkout.
Official sources: Codex Security CLI quickstart, CLI reference, and CLI FAQ, OpenAI Learn. Checked October 5, 2026. #CodexSecurity #CodeSecurity #CodexCLI #CodingAI #VibeCoding
More articles
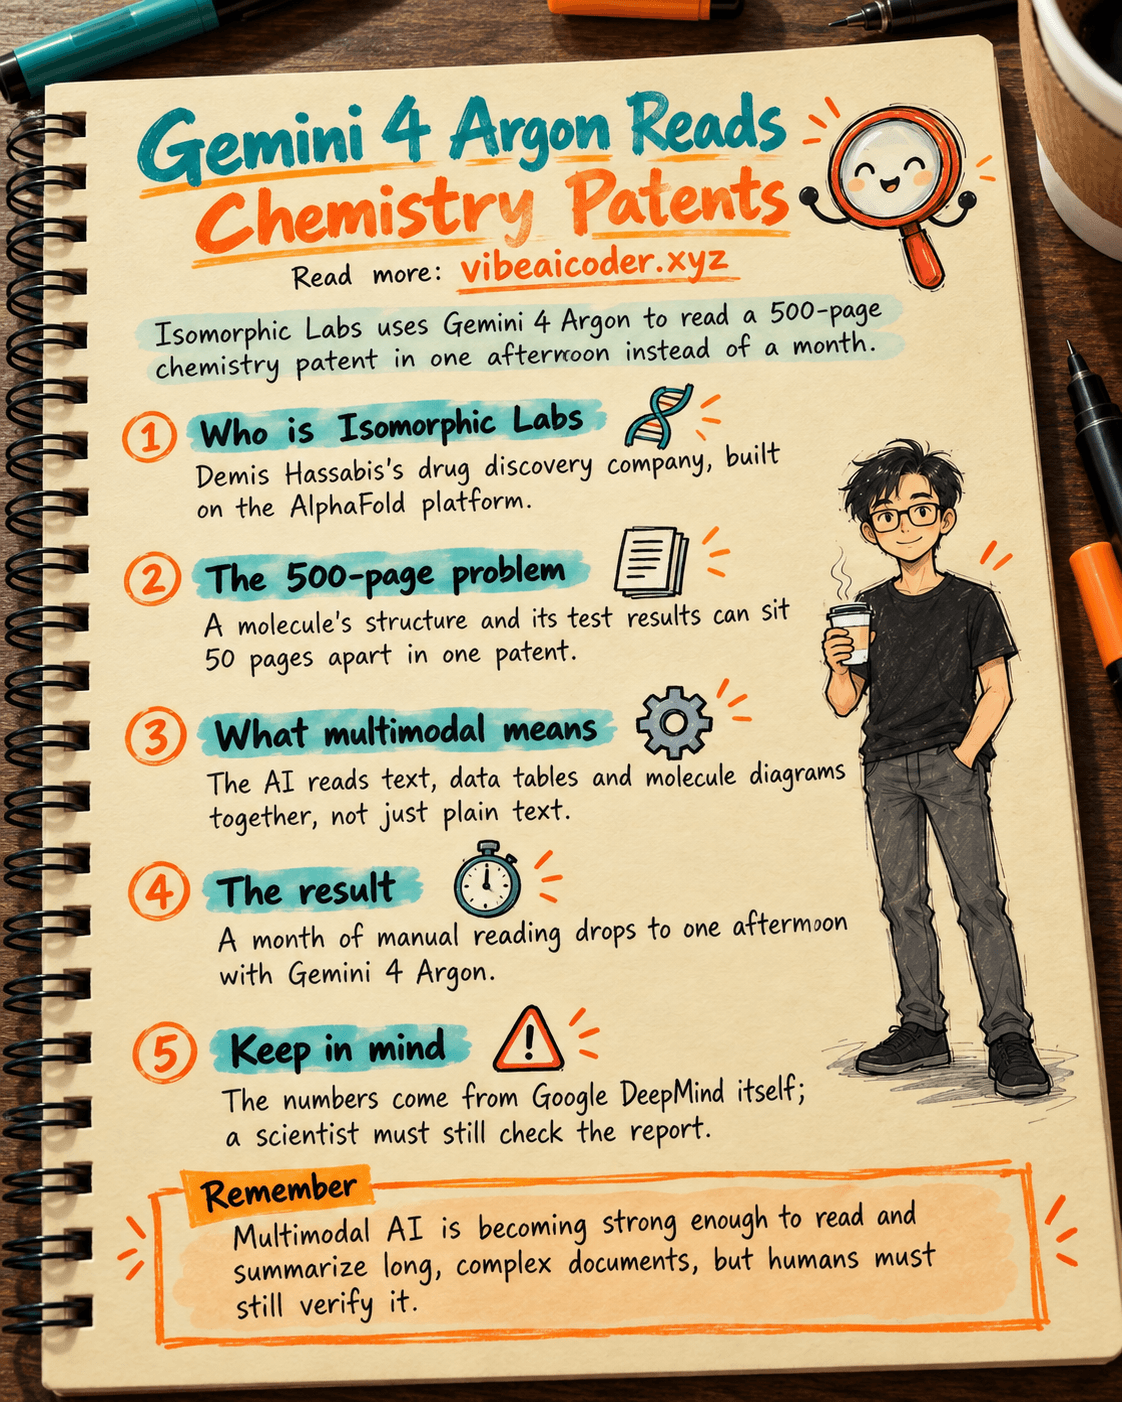
Gemini 4 Argon Reads a 500-Page Chemistry Patent in One Afternoon
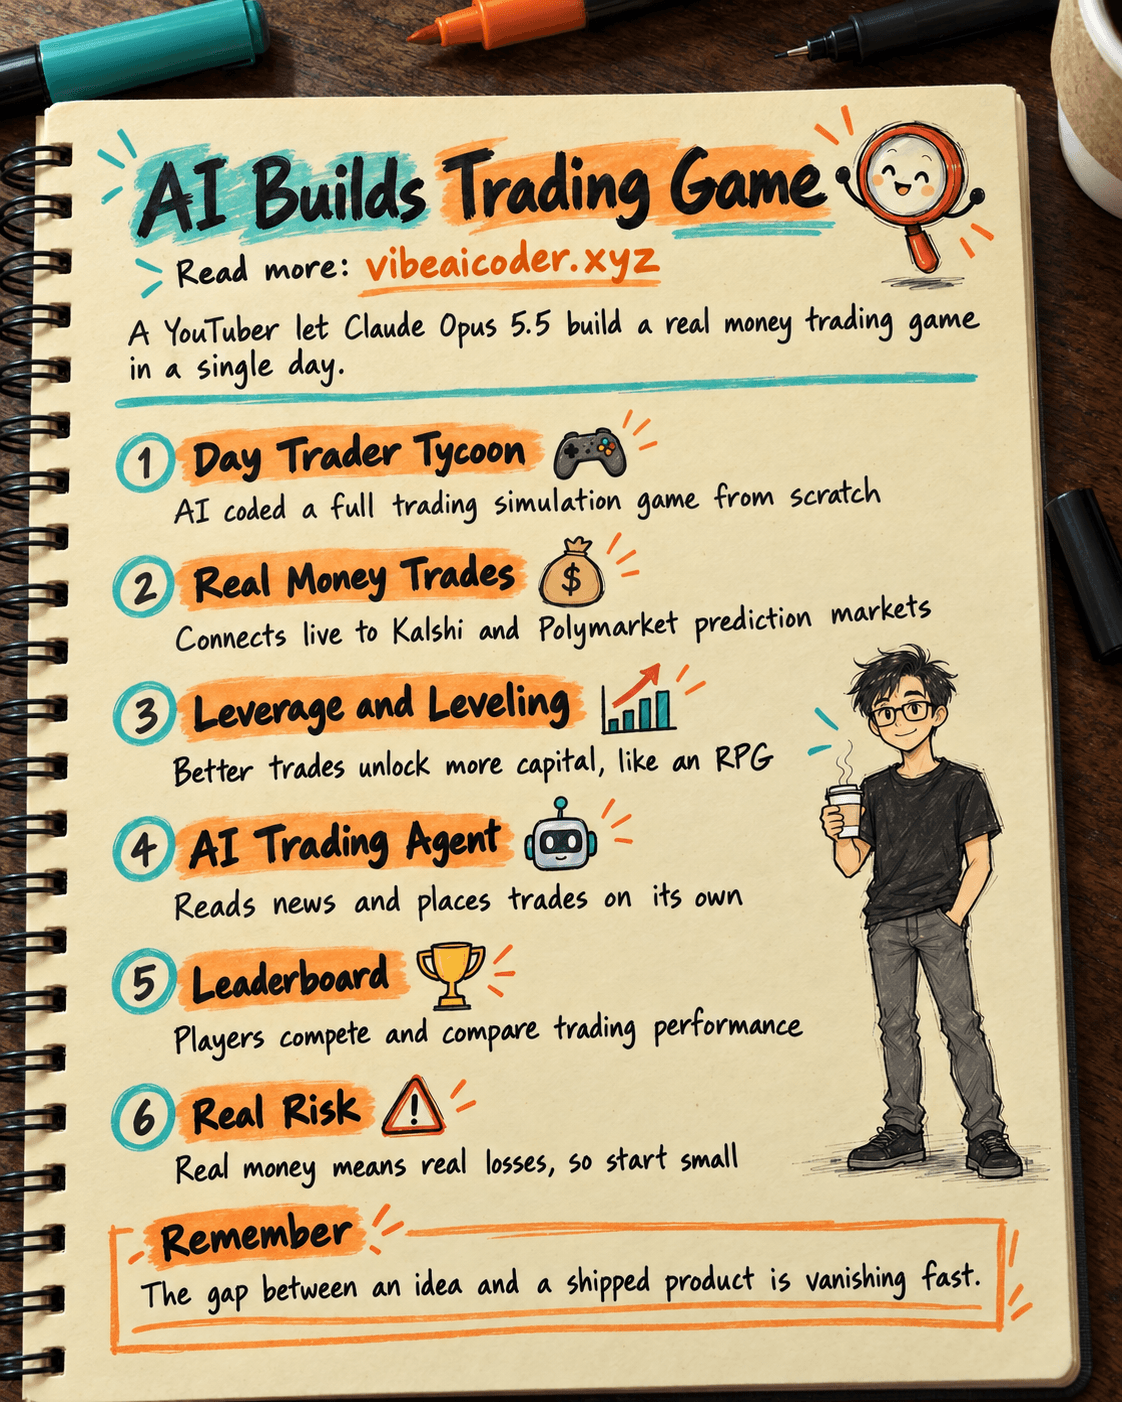
Claude Opus 5.5 Codes a Real Money Trading Game in One Day
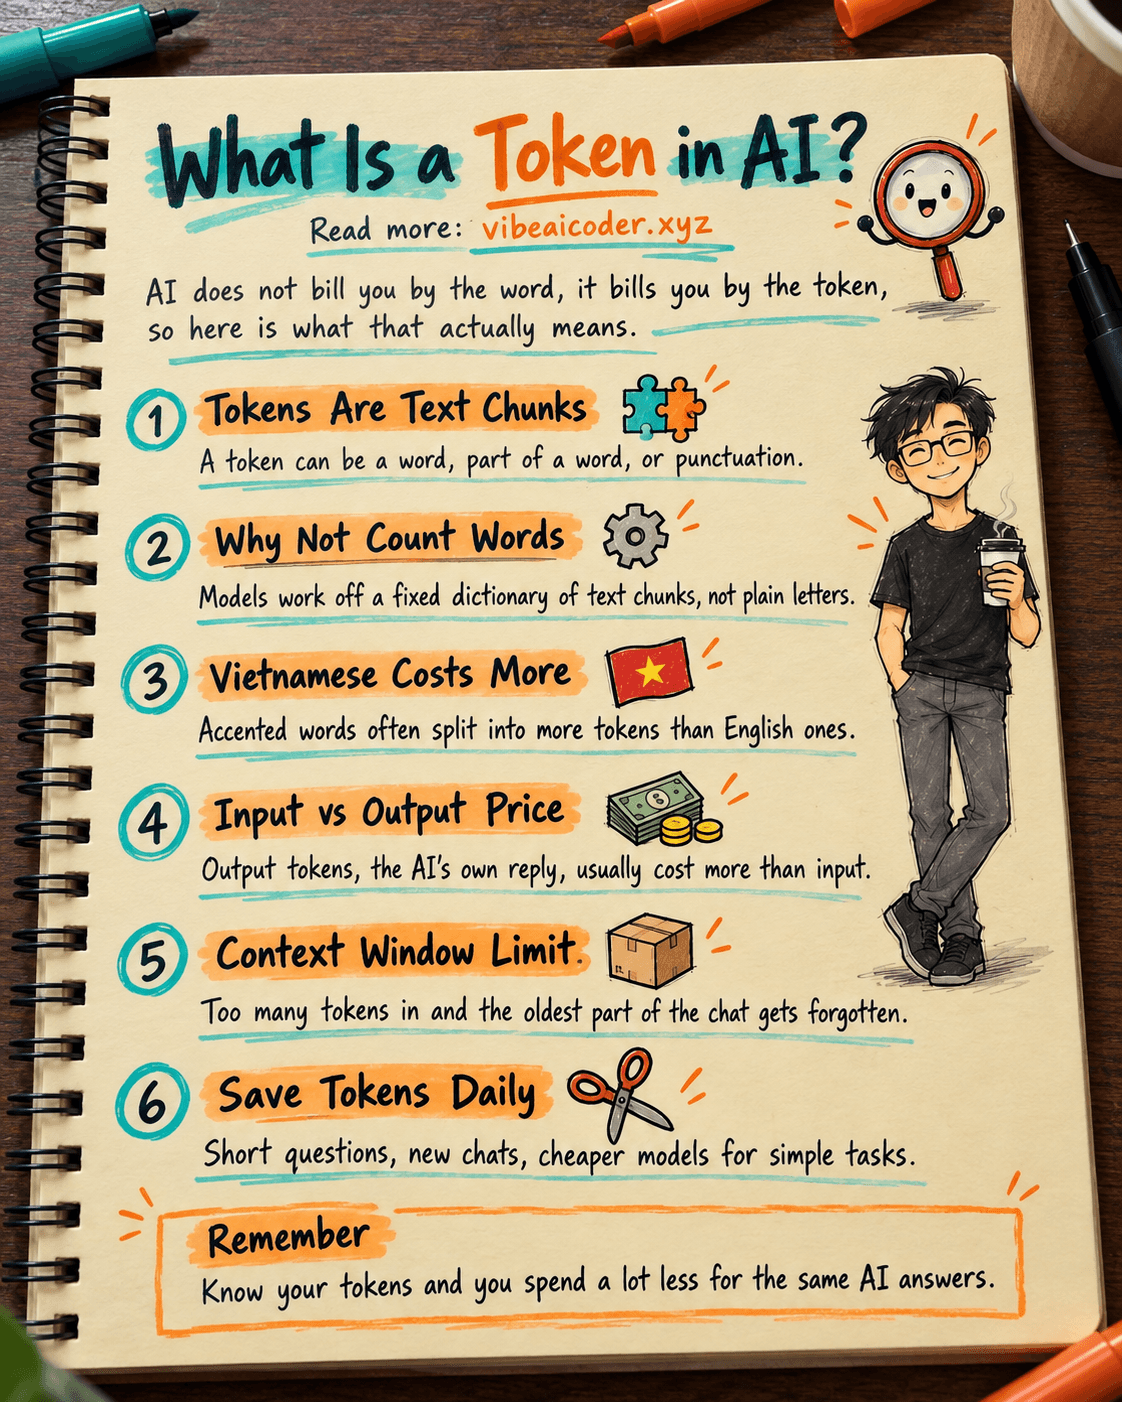
What Is a Token in AI? Why ChatGPT and Claude Charge by Tokens
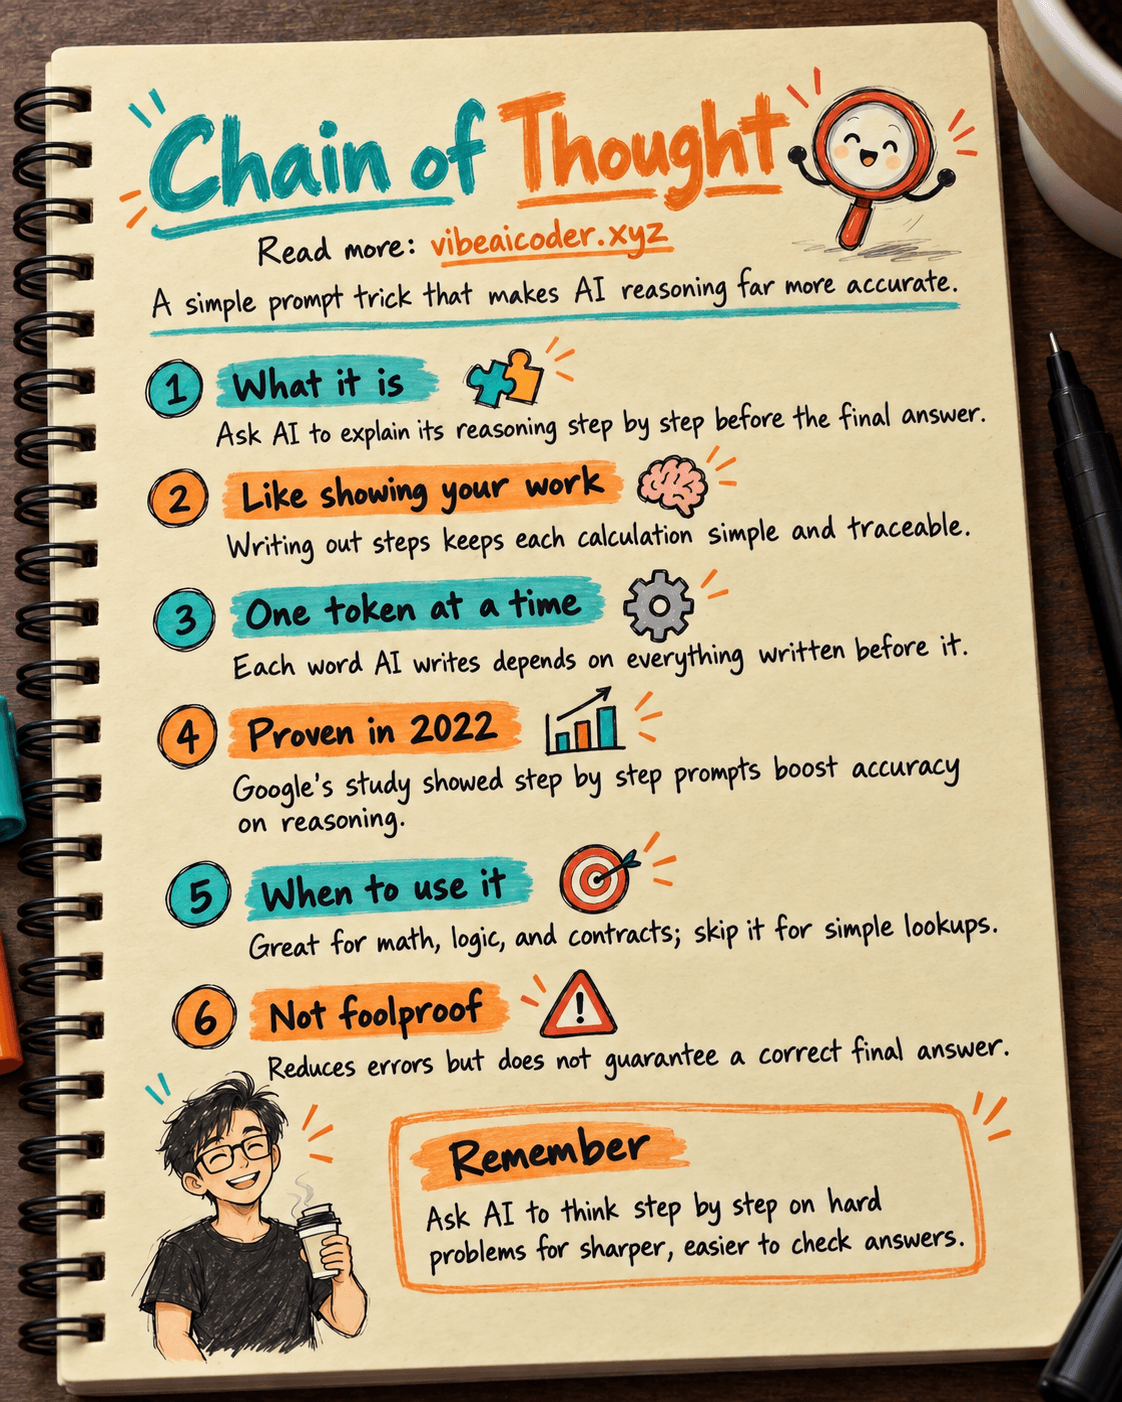
What Is Chain of Thought? Why Asking AI to Think Step by Step Works Better
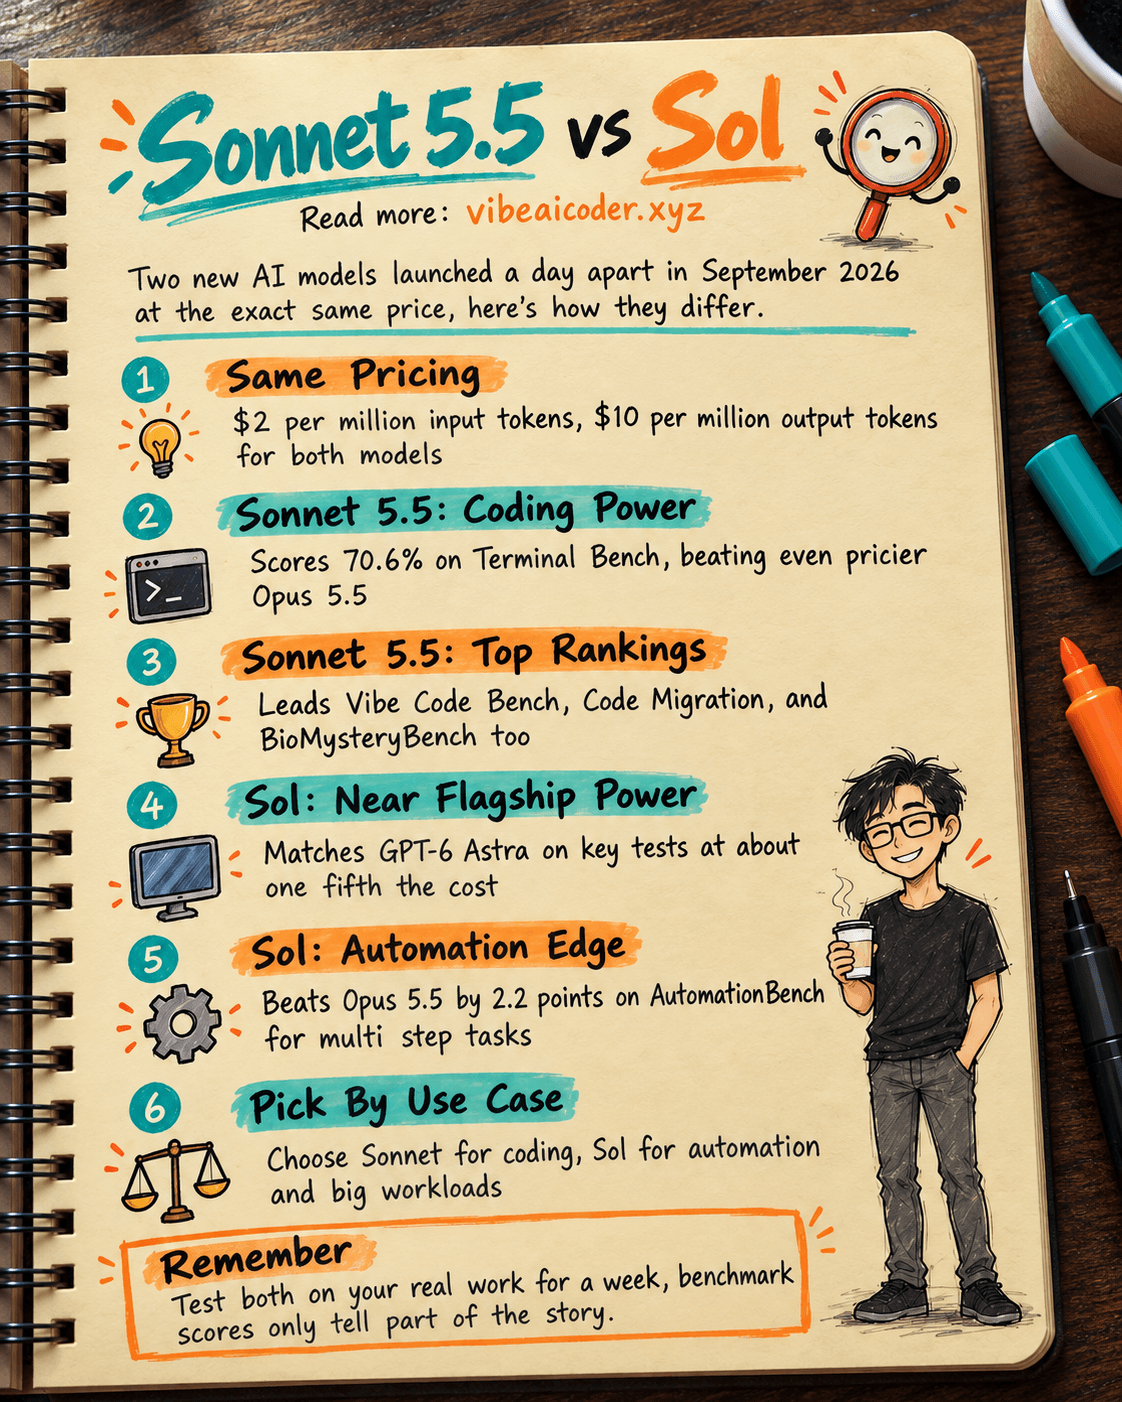
Claude Sonnet 5.5 vs GPT-6.1 Sol: Which AI Model Is Worth Using?
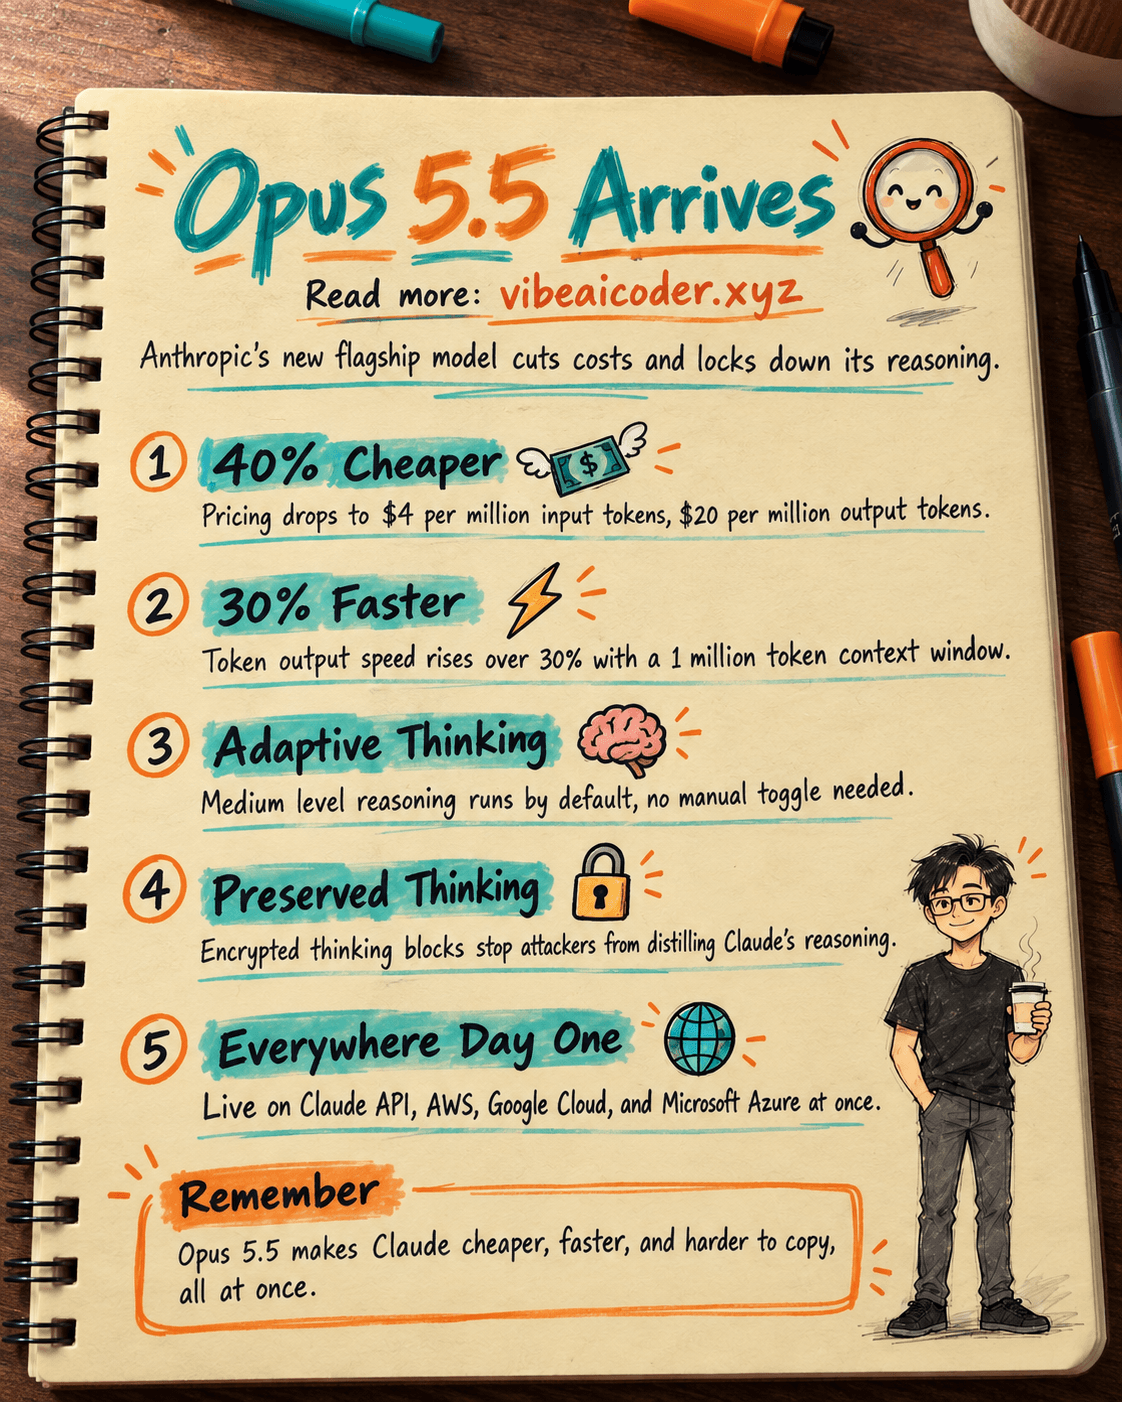
 Claude Opus 5.5 Launches: 30% Faster, 40% Cheaper, Blocks AI Brain Copying