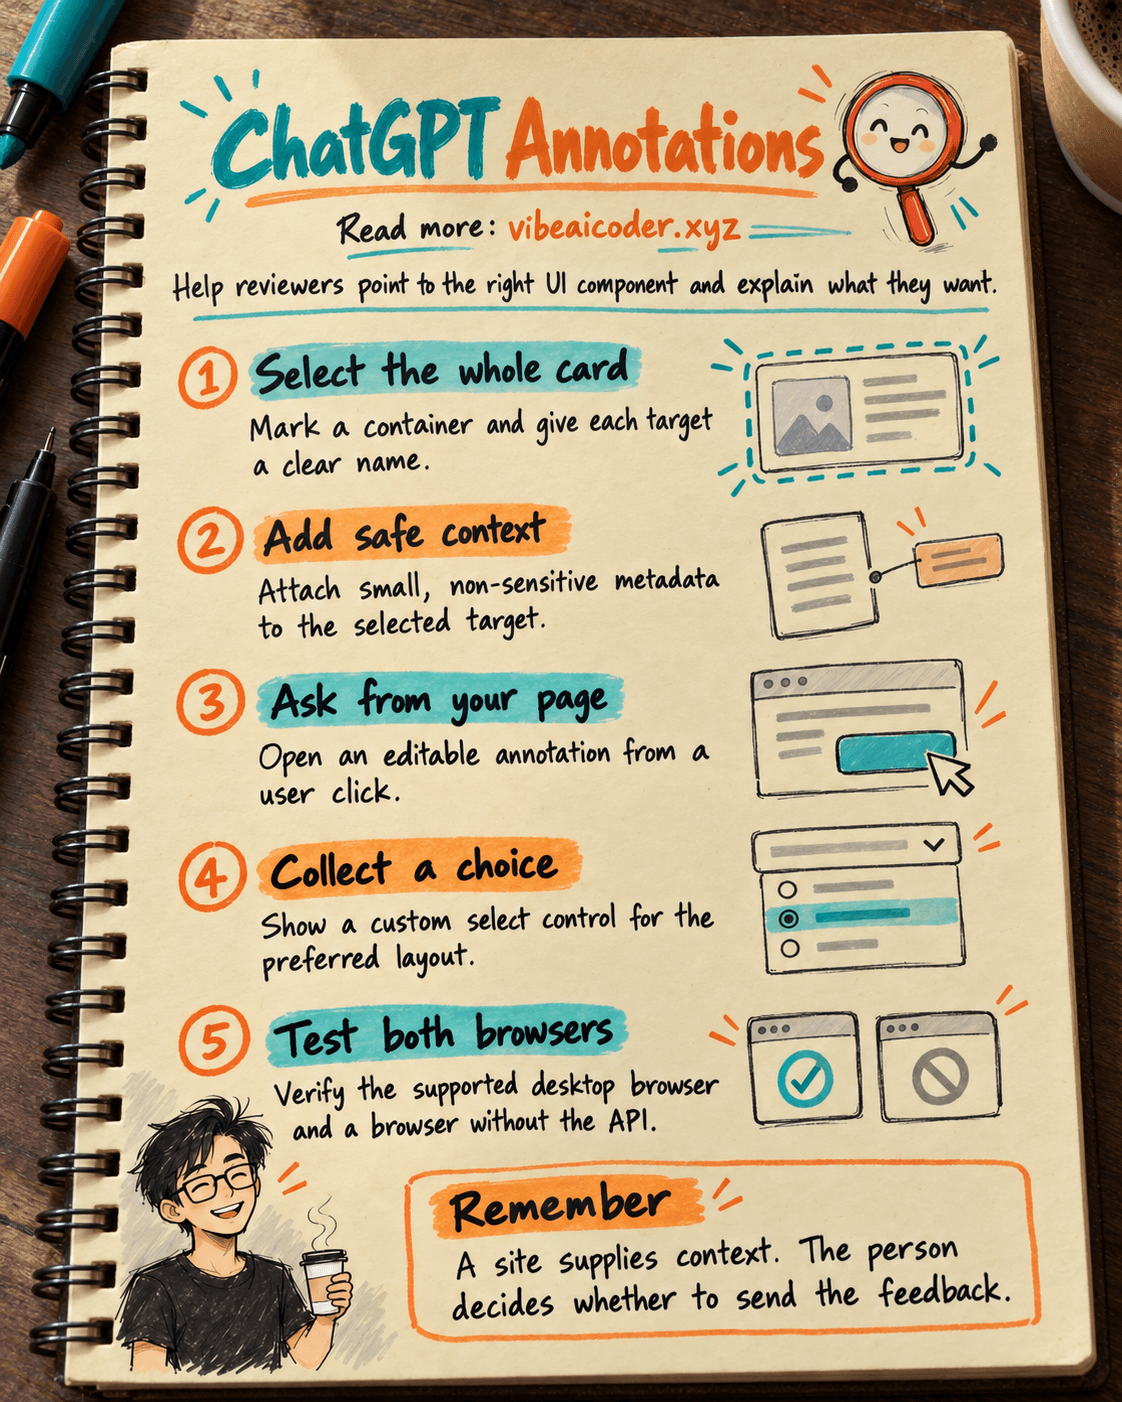
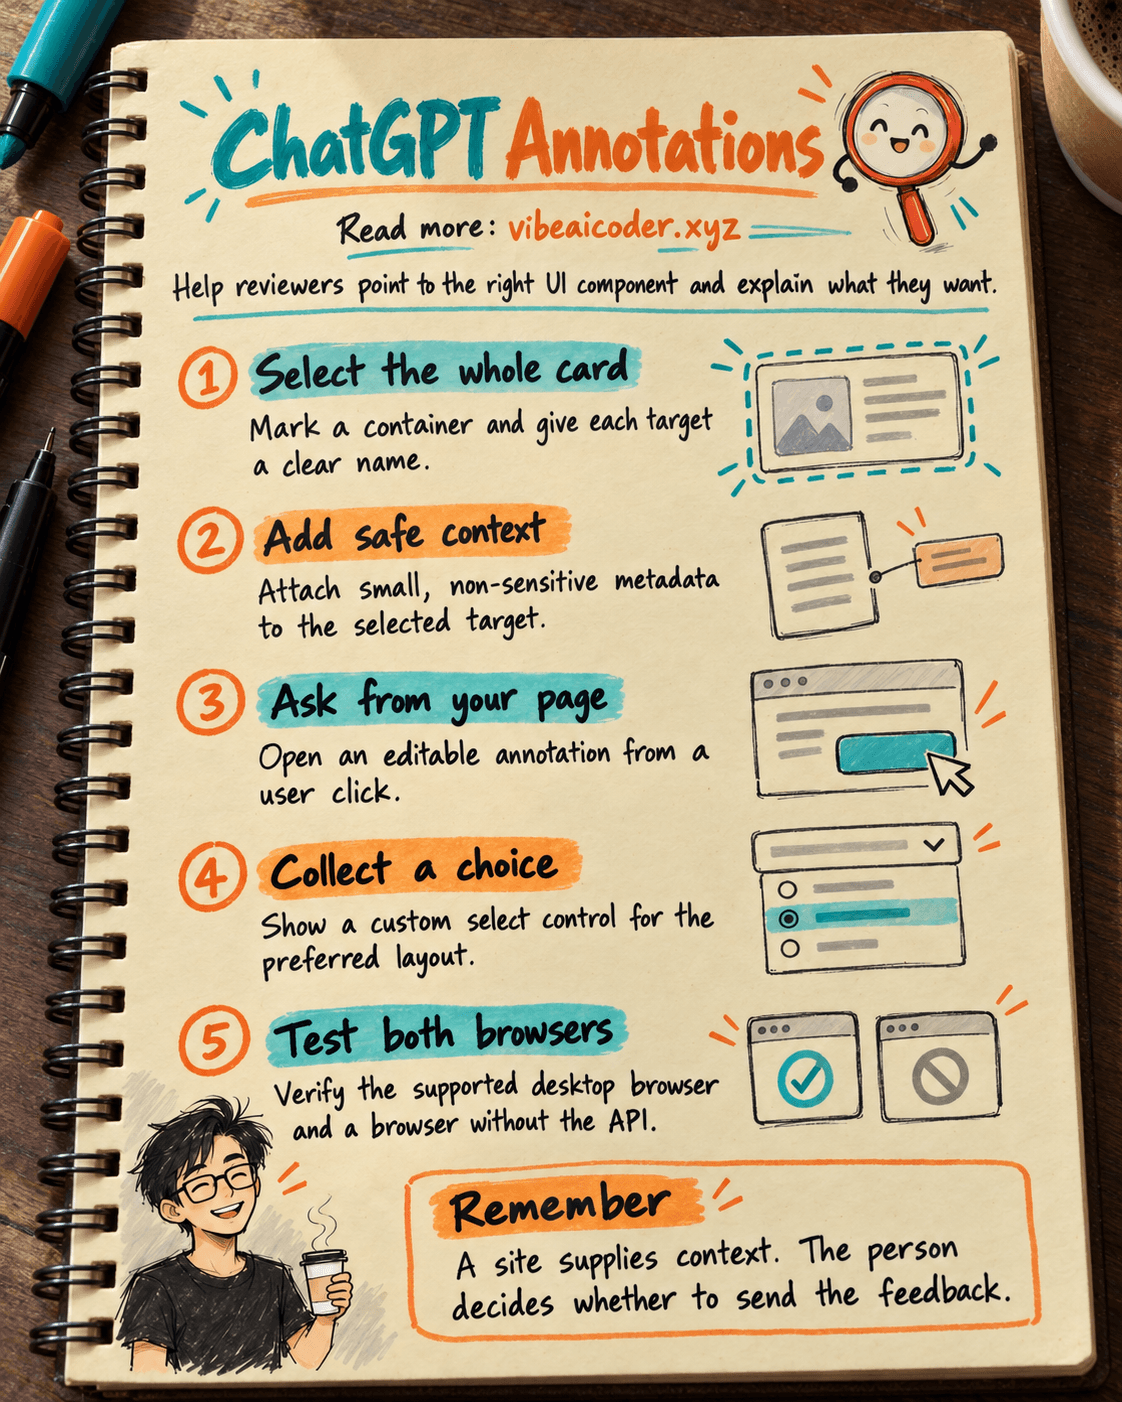
Use ChatGPT Annotations to collect feedback on the right UI component with the right context
Use ChatGPT Annotations to collect feedback on the right UI component with the right context
“This card feels crowded” is hard to act on when a preview page contains several cards. The Browser Annotation API lets a visitor select an entire component, attach a little relevant context, and choose an option before discussing it with ChatGPT. This walkthrough takes about 20 minutes and needs a test page served over HTTPS or localhost, plus a supported ChatGPT desktop app with its built-in browser.
Your site prepares the context; the person decides whether to send the feedback. Opening an annotation does not send a chat message. For the wider distinction between ChatGPT Browser, extensions, and Computer Use, read that guide first. Here we focus on code for a website you control.
 What you need
Use the Browser Annotation API documented by OpenAI. The guide targets the DevDay 2026 desktop app release and later. On supported secure top-level pages, its JavaScript namespace is document.oai.annotation. Do not assume an ordinary Chrome tab, an iframe, or every app version exposes it. Check each method before calling it, and initialize your code after the relevant DOM elements exist.
Availability matters: OpenAI says the Browser Annotation API is not currently available in ChatGPT Enterprise or Edu workspaces. If your team uses only those workspaces, treat this example as a design reference until availability changes. Confirm your environment before planning a deployment.
Prepare a test page with two preview cards and one feedback button. Use fictional content and no credentials or customer data. If your actual need is to capture an application window for a draft, the ChatGPT Desktop and Appshots workflow does that without changing your website.
 Step by step
1. Give each card a selectable name
In Annotation mode, the browser can select DOM elements by default. For a card with a heading, description, and buttons, a reviewer often means the whole card. Put oai-annotation-container on the surrounding region and oai-annotatable on each card. Its value becomes a name visible to the person and the model, so make nearby cards easy to tell apart.
<section id="preview" oai-annotation-container>
  <article id="profile-card" oai-annotatable="Profile card">
    <h2>Profile</h2>
    <p>Team member details and roles.</p>
  </article>
  <article id="summary-card" oai-annotatable="Summary card">
    <h2>Summary</h2>
    <p>Three important metrics for this week.</p>
  </article>
</section>

<button id="discuss-profile" type="button" hidden>Discuss the profile card</button>
Enter Annotation mode and point to either the heading or description. The entire card should highlight. An oai-annotatable attribute outside an annotation container does not change selection behavior. Areas outside the container retain the browser's default behavior.
For feedback on a phrase rather than an object, put oai-annotation-container-text on a text region. The person can drag to select text; a click alone does not create an annotation. If both the text and DOM selection attributes appear on one element, text selection takes priority. Decide which gesture fits the work before adding attributes.
2. Include only useful context
“Profile card” does not say which screen or variant is being reviewed. Add small, non-sensitive details to the marked target with oai-annotation-metadata:
<article
  id="profile-card"
  oai-annotatable="Profile card"
  oai-annotation-metadata='{"screen":"Team page","variant":"Preview"}'
>
  <h2>Profile</h2>
  <p>Team member details and roles.</p>
</article>
This block replaces the first profile card rather than adding a second element with the same id. The metadata travels with the annotation into the conversation. OpenAI permits a small flat JSON object with at most six properties, keys of at most 64 characters, string values of at most 256 characters, and a serialized size of at most 2,048 bytes. Nested objects and arrays are not supported. Invalid metadata may be ignored.
Only include details that both the reviewer and ChatGPT may see. Metadata clarifies feedback; it does not give ChatGPT access to your database or permission to change your application.
3. Open an annotation from your own button
You can put a feedback button next to the component. After the elements exist in the DOM, add this script. It hides the button where request() is unavailable and calls it inside the person's click handler:
const card = document.getElementById("profile-card");
const button = document.getElementById("discuss-profile");
const annotation = document.oai?.annotation;

button.hidden = typeof annotation?.request !== "function";

button.addEventListener("click", () => {
  if (typeof annotation?.request !== "function") return;

  const result = annotation.request(card, {
    initialComment: "Please comment on how clear this profile card is.",
  });

  if (!result.accepted) {
    console.info("Annotation request was not accepted.");
  }
});
result.accepted means the browser received and validated the request. It does not prove that the editor opened, an annotation was saved, or a message was sent. initialComment is editable and limited to 240 UTF-16 code units. Do not await a network request before calling request(): you could lose the direct user interaction. A request may also be declined while an editor is open or ChatGPT is controlling the browser.
For an exact passage, request() also accepts a DOM Range containing visible, nonempty text in the current document, up to 20,000 UTF-16 code units. A text-range request uses the default text editor; mode: "advanced" is rejected. Label your button as a way to discuss the content, not as a button that sends a message. The person performs that final step.
4. Let the reviewer choose an option
When a design question has a small set of answers, add a select control. Here the reviewer chooses the information density of the profile card. Place this code after the card and annotation declarations above:
let registration;

if (typeof annotation?.registerControls === "function") {
  try {
    registration = annotation.registerControls({
      targets: card,
      controlsHeading: "Card layout",
      controlsMode: "replace",
      controls: [
        {
          type: "select",
          label: "Information density",
          callback: "layoutDensity",
          options: [
            { label: "Spacious", value: "relaxed" },
            { label: "Compact", value: "compact" },
          ],
          defaultValue: "relaxed",
        },
      ],
    });
  } catch (error) {
    console.error("Could not register annotation controls.", error);
  }
}

function cleanupAnnotationControls() {
  registration?.dispose();
}
controlsMode: "replace" shows your controls for this target instead of the built-in controls. Use "extend" to show both. This example collects a choice; it does not immediately change the page. Because currentValue is omitted, the starting choice is included in the annotation even if the reviewer leaves it untouched. ChatGPT and annotation history receive visible labels such as “Spacious” and “Compact”, rather than the internal value strings as the wording of the choice. Write labels that make sense without access to the code.
For live previews of spacing or color, use range or color controls and handle oaiannotationcontrolchange. Its preview, preview-original, and reset actions each supply the value to apply. Restore ordinary rendering when a preview is cleared. A preview does not save a setting in your app. Each registration supports at most 12 controls, and invalid registrations can throw synchronously. Dispose of the registration and remove event listeners or preview state when your component is removed.
5. Test the complete interaction
Open the test page in the supported ChatGPT desktop app's built-in browser. Enter Annotation mode through the browser UI. Select both cards and check the highlighted area, name, and metadata. Use your feedback button, edit the suggested comment, choose “Compact”, save the annotation, and reopen it from the attachment preview. Finally, send it with a test message and check that ChatGPT receives the intended object, context, and visible option label.
Open the same page in a browser without the API. The special button should stay hidden, while the cards still work normally. Remove the component and call the cleanup function. If you add CSS previews later, change an option, compare with the original, then cancel and verify restoration. The sample code was checked against OpenAI's documentation and passed a JavaScript syntax check, but it has not been exercised in a live ChatGPT desktop account. The browser test remains necessary before production use.
 Example outcome
A reviewer selects “Profile card”, chooses “Compact”, and writes: “The member role is too easy to miss; please make it more prominent.” The conversation contains the card name, screen: Team page, variant: Preview, and the visible choice “Compact”. The developer knows which variant is under discussion. This is the expected outcome from the API specification, not a captured log from a running demo.
 Tips for a better result
Start with one group of cards and one control. Name oai-annotatable targets in the reviewer's language, not CardV2. Use metadata to identify a screen or variant, not to carry a customer record. Annotations bring a selection and feedback into a conversation. If an agent must act on the website, a separate capability such as Site tools is required. For a deeper coding agent integration, see Codex SDK versus App Server.
For apps that replace DOM nodes as state changes, keep the registration handle so you can update its targets or dispose of it. A target list captures existing elements; it does not follow future selector matches. If you later set currentValue, use the app's ordinary value, including unsaved edits, not a temporary preview value. Otherwise comparisons between old and proposed values become misleading.
 Limits to understand
Availability depends on the desktop app version, site permission, and site-specific settings. Some site-initiated requests may require the person to grant permission. The API expects a secure, top-level document in the built-in browser; an iframe is not the place to test this sample. Check the current OpenAI documentation before deployment because access and UI details may change.
Selected content and metadata enter a conversation. Treat this as a data-sharing path and follow your organization's rules. The example control proposes an option for discussion. It does not edit source code, save a setting, or send an email. People responsible for access, pricing, legal decisions, and product changes still need to review the feedback before acting.
 FAQ
FAQ
Can I use this API in an ordinary Chrome tab? OpenAI documents document.oai.annotation for the supported ChatGPT desktop app's built-in browser. Feature-detect it instead of assuming an ordinary tab provides it.
Does it work in ChatGPT Enterprise or Edu? According to OpenAI's current guide, the Browser Annotation API is not available in those workspaces. Recheck if OpenAI changes availability.
Does the feedback button send a message? No. request() asks to open an annotation. The person decides whether to edit, save, and send it. accepted: true is not proof of delivery.
Can I select a sentence instead of a card? Yes. Use oai-annotation-container-text for drag selection in Annotation mode, or call request() with a valid DOM Range from your own button.
Does a custom control save changes to my website? No. It can collect a choice or support a preview event. A real change needs your application's normal save flow and a responsible review.
Primary source: Annotations Extensibility, official OpenAI Learn documentation. Checked October 5, 2026. #ChatGPT #Annotations #Website #CodingAI #VibeCoding
More articles

Gemini 4 Argon Reads a 500-Page Chemistry Patent in One Afternoon
Claude Opus 5.5 Codes a Real Money Trading Game in One Day
What Is a Token in AI? Why ChatGPT and Claude Charge by Tokens
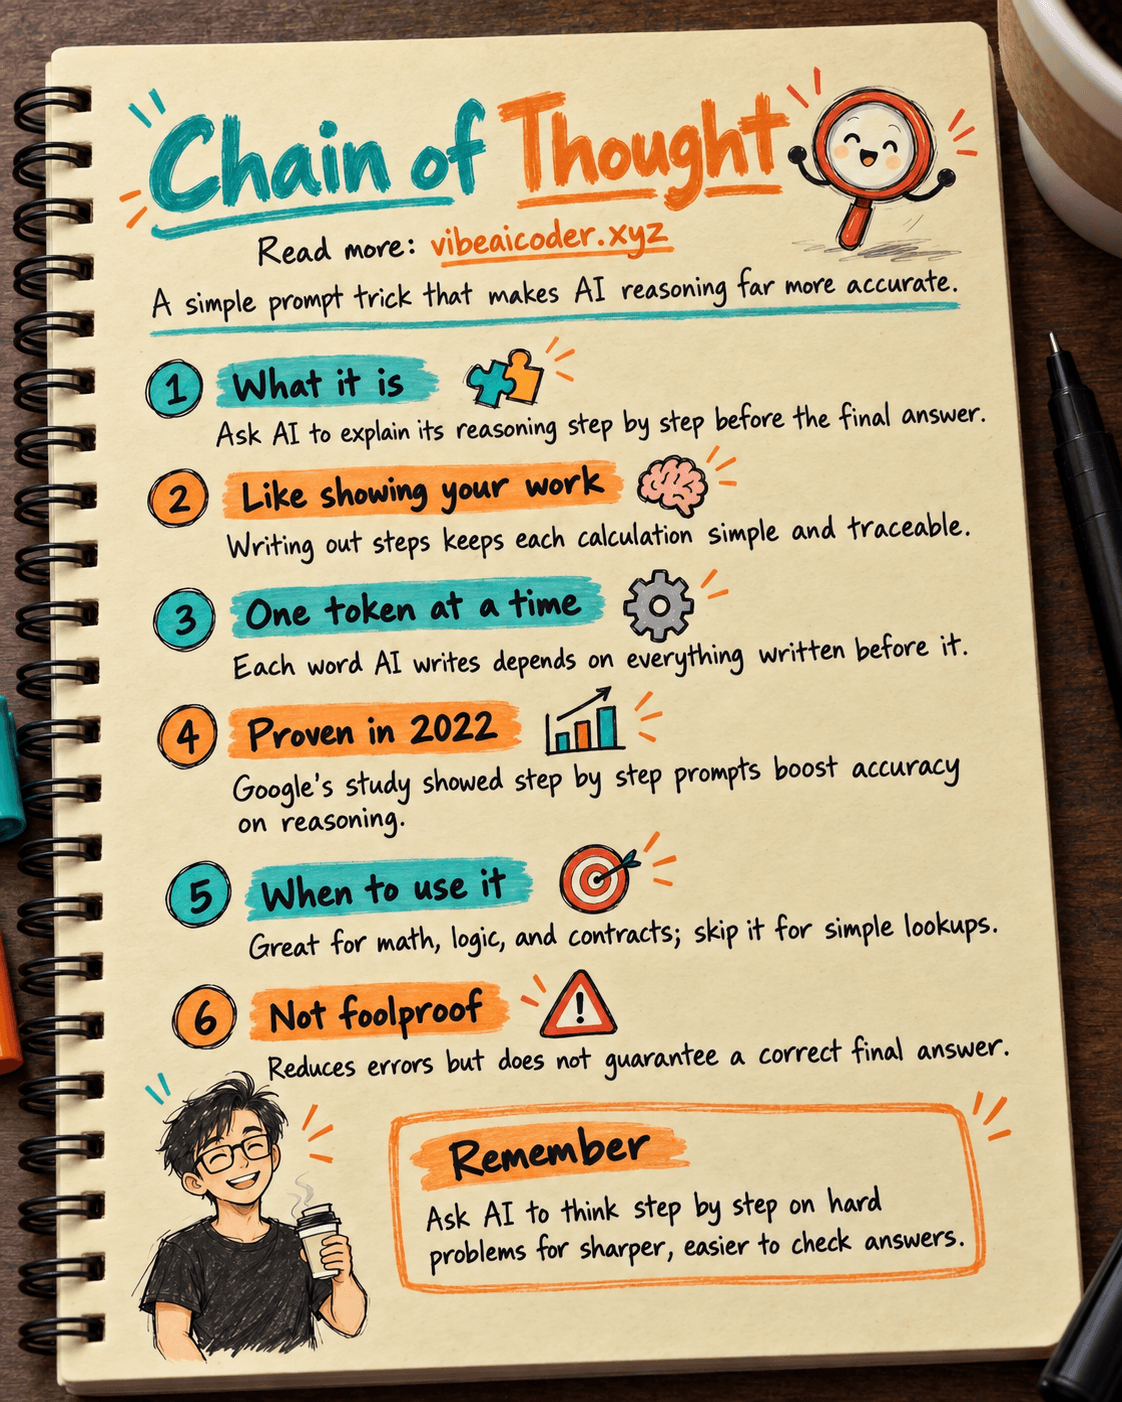
What Is Chain of Thought? Why Asking AI to Think Step by Step Works Better
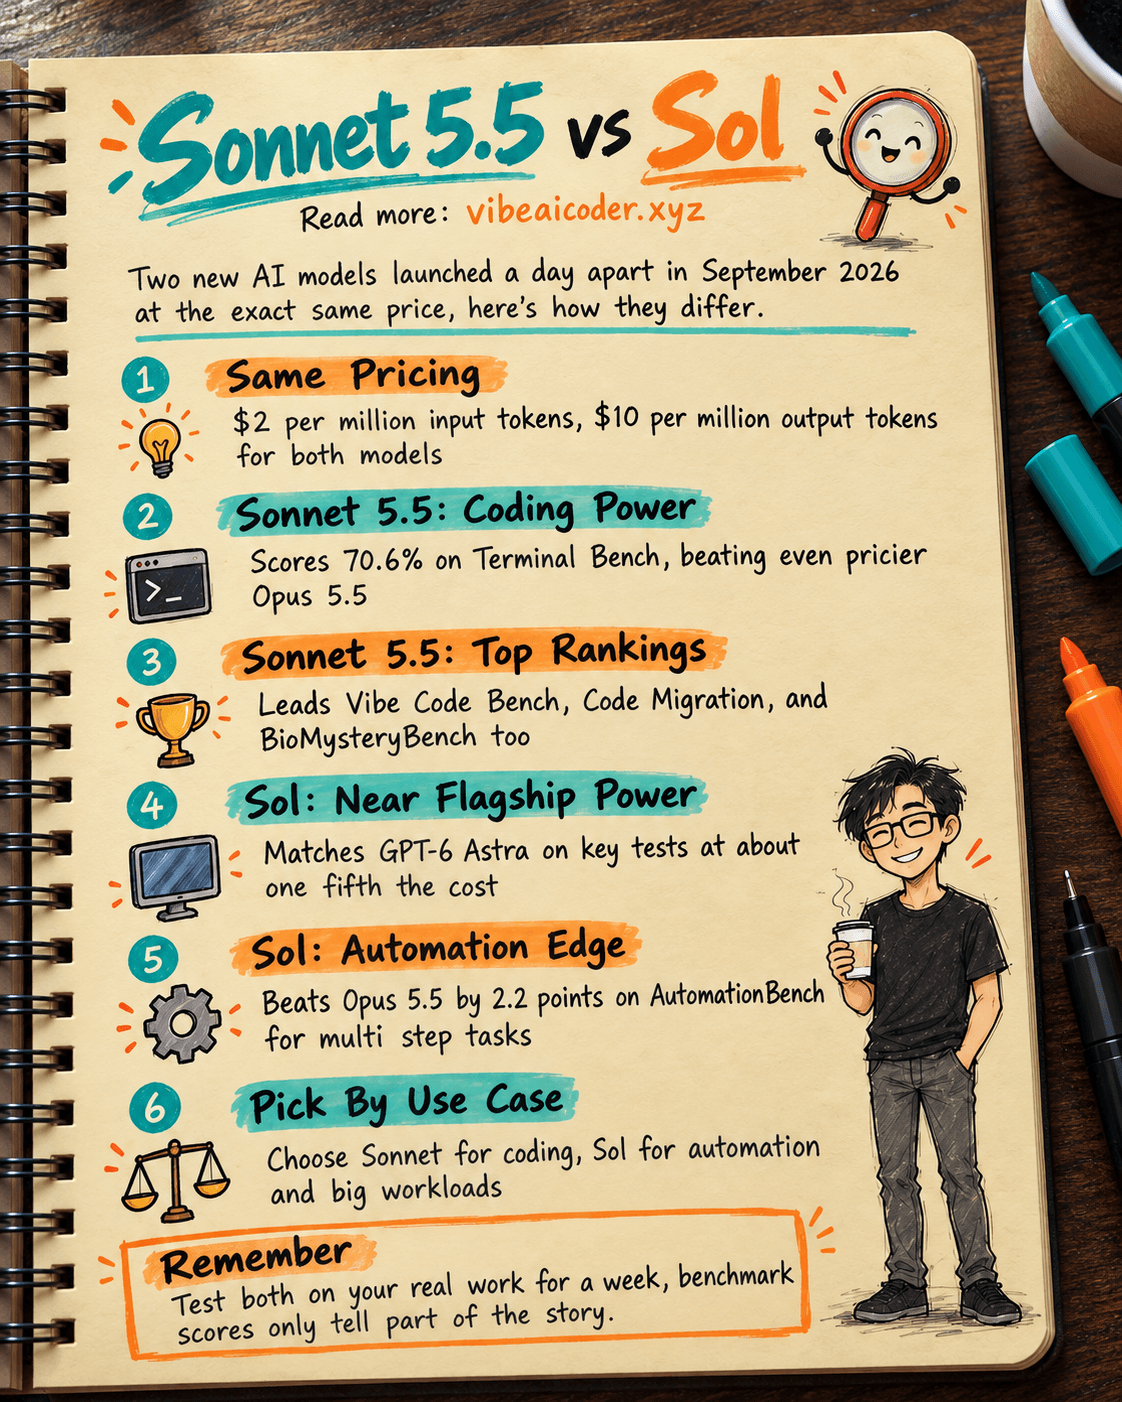
Claude Sonnet 5.5 vs GPT-6.1 Sol: Which AI Model Is Worth Using?
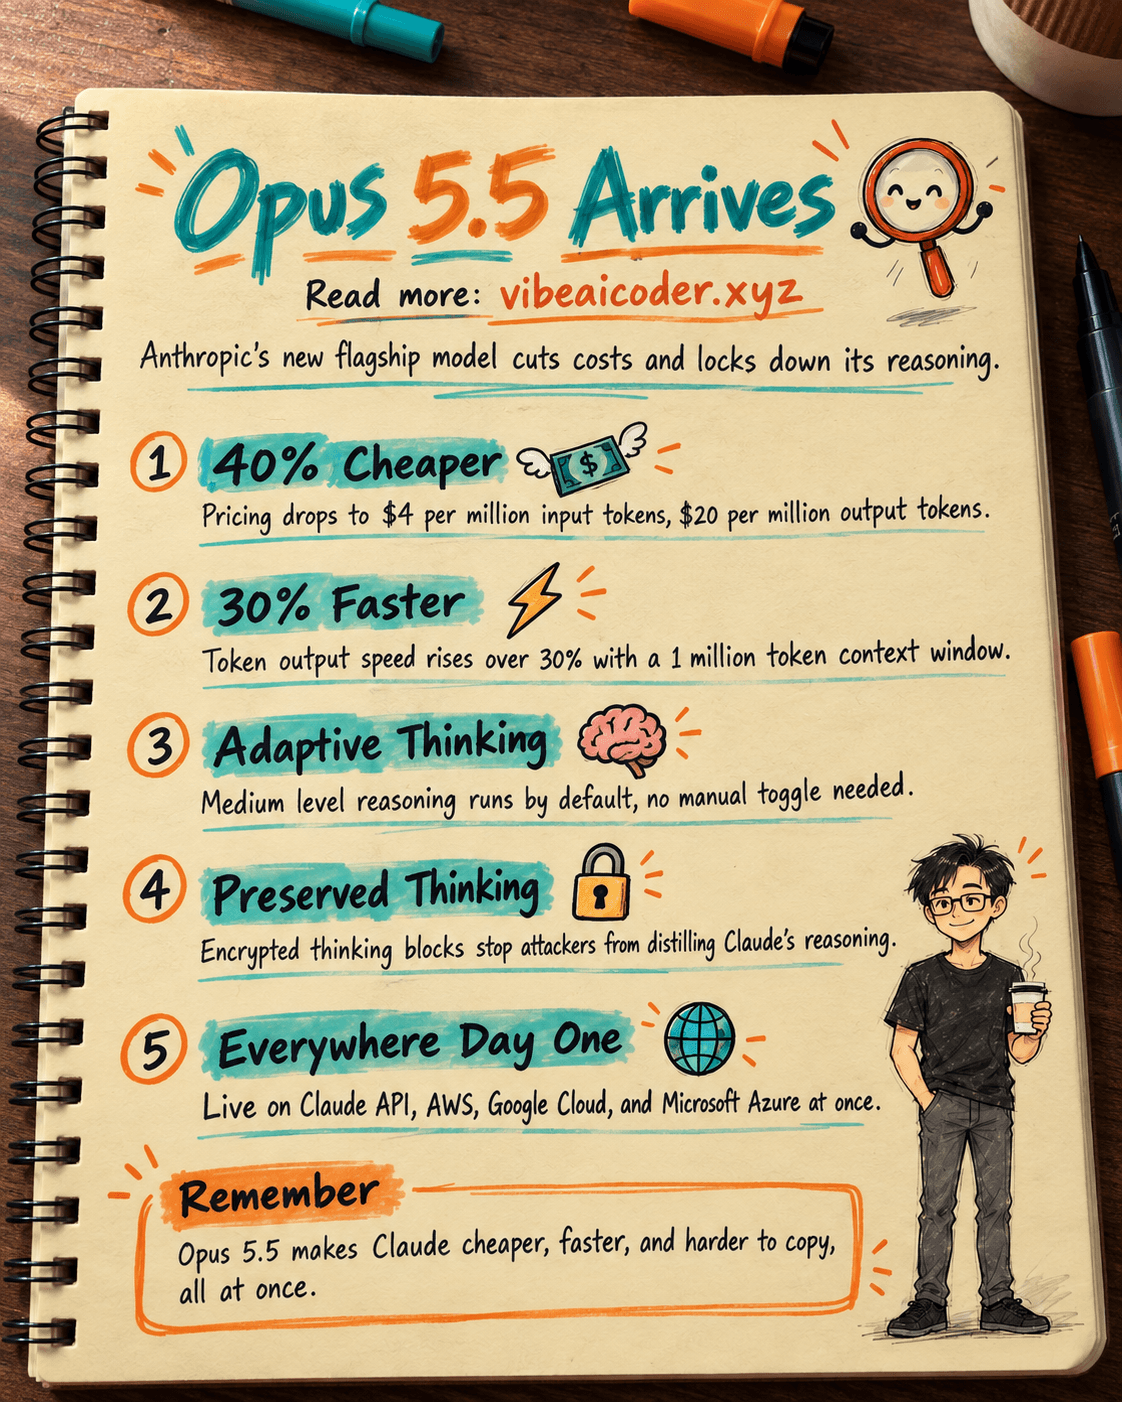
 Claude Opus 5.5 Launches: 30% Faster, 40% Cheaper, Blocks AI Brain Copying